It would in ours!
Although, to be fair, we DO have a really long driveway...
Measuring whale lengths was the very last activity that I wanted the kids to complete to earn their Girl Scouts of Hawai'i Aloha fun patch, way back when it was actually a unit study based on our 2019 vacation to Kauai!
We just never got around to it last summer, though, and once autumn hit we had so many autumn things to look forward to that it was less tempting to dive back in. Now that we're spending so much more time on our property, however, and ESPECIALLY now that Will's AP exams are over (yay!), we actually do have the time to dive back into some of our unfinished business... and finish it up!
This activity was loosely based on the time that we drew life-sized dinosaurs all over a local park's basketball courts. My dream *had* been to go back to the basketball courts and draw life-sized whales, but we obeyed our governor's strictest stay-at-home order to the letter, and so to modify the activity to be able to be done on our own property, I wondered if we could measure life-size whale lengths on our driveway, and then just draw models of the whale next to its measurement.
Reader, we COULD!


We have a whole stack of them. We used them constantly from the time the kids were toddlers... to today!


Ah, here's one thing that I do NOT so much appreciate about homeschooling. Guess who's fighting again?


Someone threw a piece of chalk at her sister, and someone else kicked her sister. It's fine.

I also like homeschooling because generally, we're pretty chill about distractions here. Want to take a break from memorizing whale anatomy to chalk your father's freshly-washed hair?

It's art!

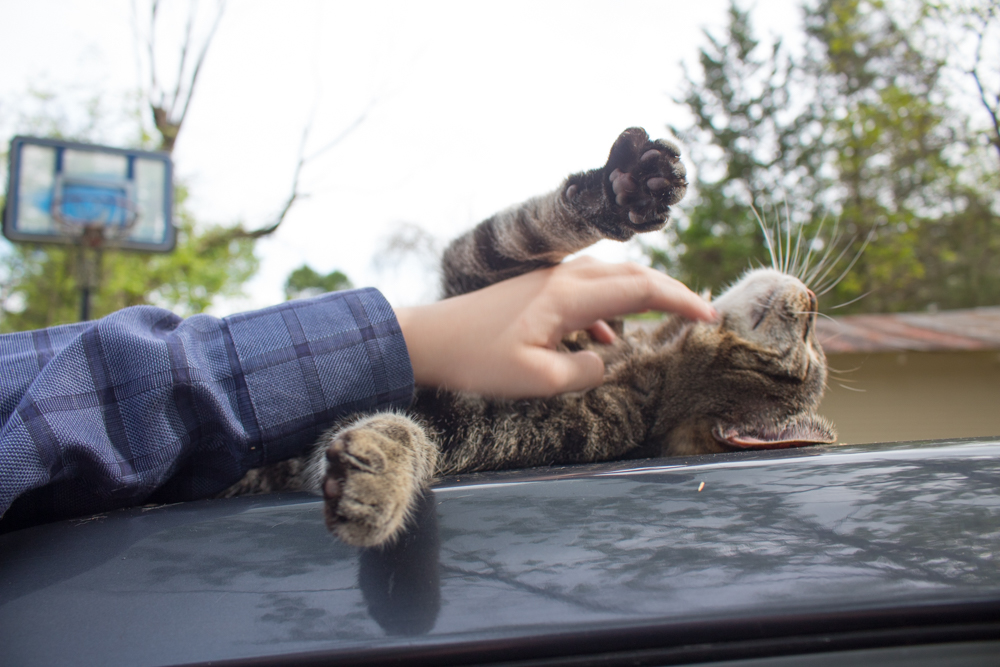
Spots also participated in Homeschool Art, which is what she gets for lying down on somebody's chalk rainbow:


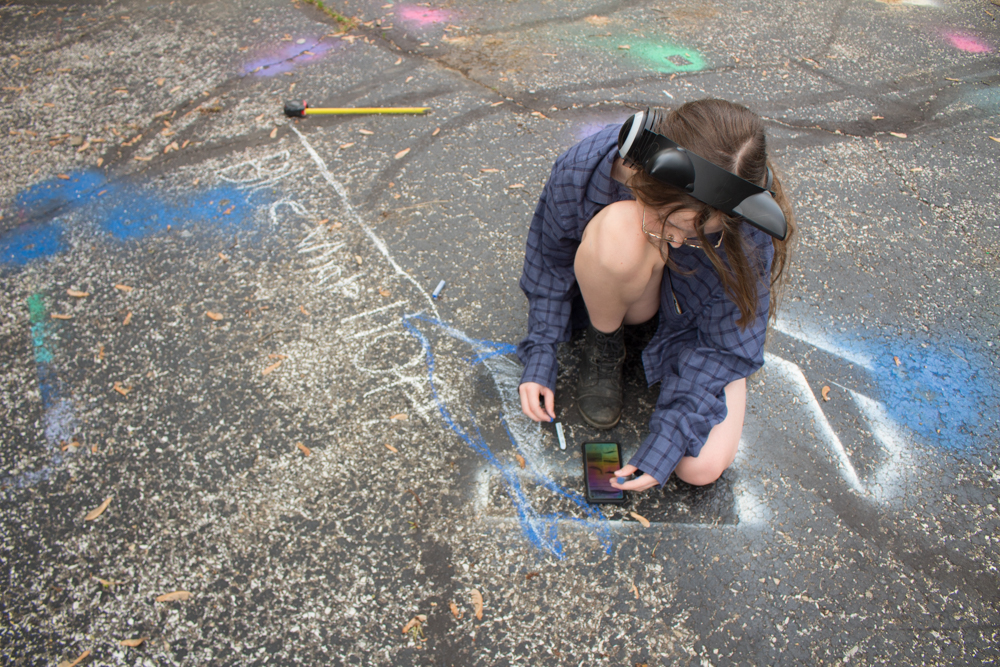
The kids each chose a couple of whales that interested them (fighting over who got to pick the narwhal, because OF COURSE), then I helped them measure that whale's length on our driveway.
Once they got the length measured, they focused on drawing a good model of their whale and learning its gross anatomy and some facts about it to share with everyone.
Here's Syd working on her blue whale, which does, indeed, just fit in our driveway!
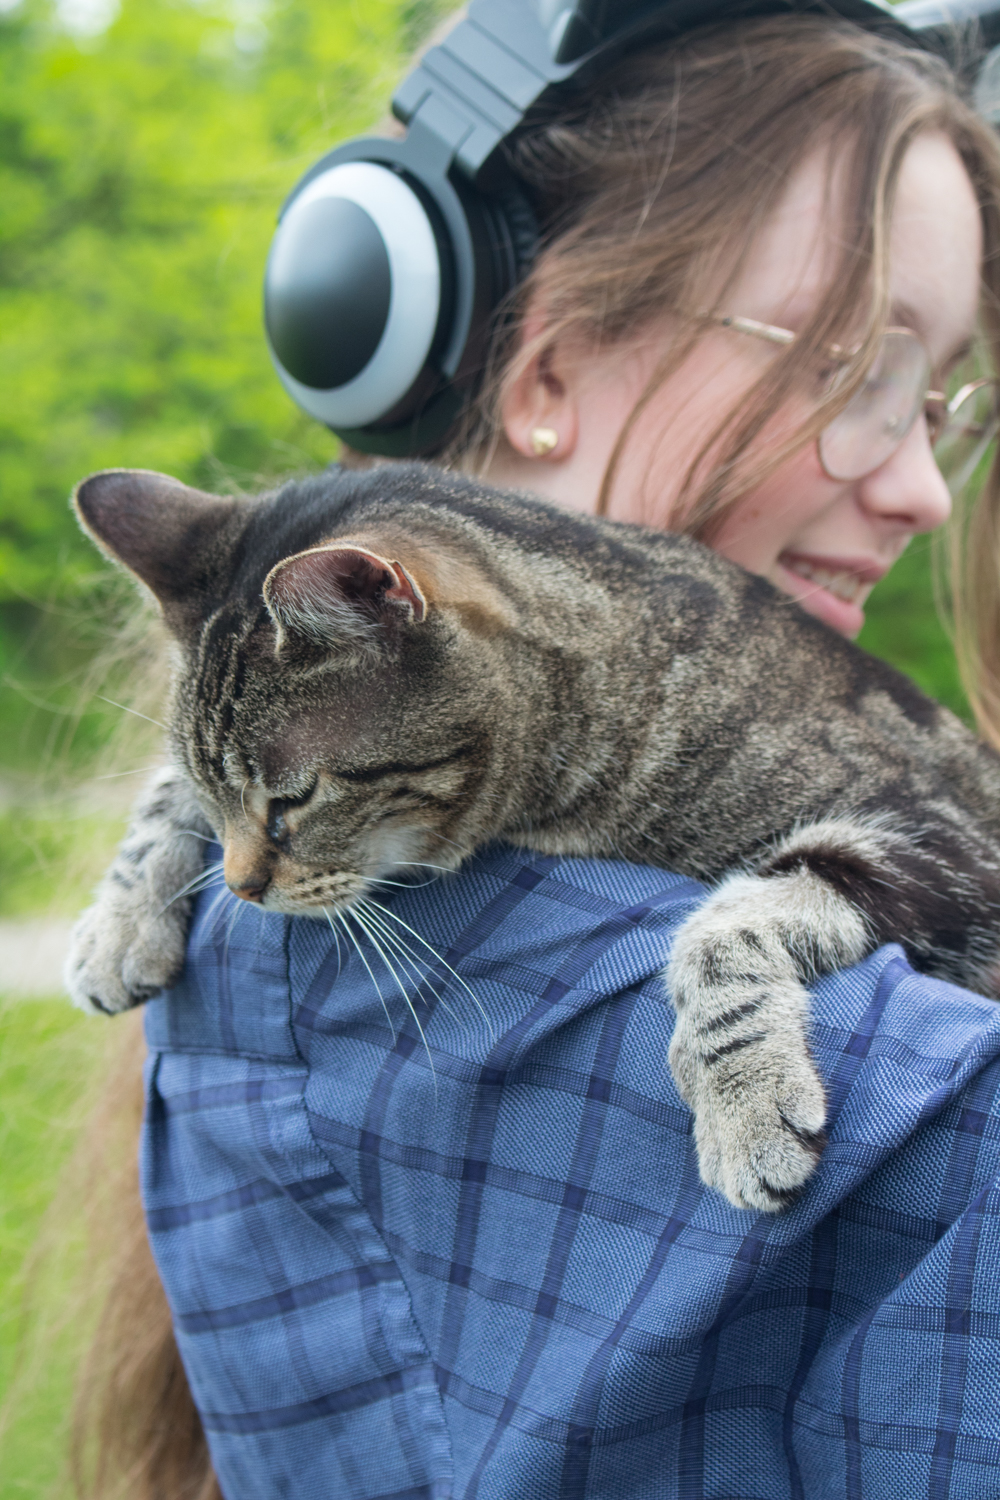
I think everyone's favorite part of homeschooling is how we can interact with and love on our pets all day. They seem to know when the kids are doing something especially interesting or unusual, and they always want to join in!
Both kids really enjoyed this project!
Eventually, the kids remembered their whales, and finished their whales, and we all took a whale walk along the length of each whale, and then listened as each kid explained interesting facts about that whale's life and significant details of its anatomy:
And that's how we finally finished our unit study of Hawaii!
Six Months Ago: Teach Your Kids to Make Applesauce
Three Years Ago: Physics and Force at the Children's Museum of Indianapolis
Four Years Ago: Homeschool Science: Zometool Crystallizations
Five Years Ago: I Let My Kids Drive the Lawnmower
Six Years Ago: Cahokia Mounds Homeschool Field Trip
Seven Years Ago: Zooming through the Montessori Green Series
Eight Years Ago: Geography with Montessori Pin Flags
Nine Years Ago: Tutorial: Easy Rainbow Cake
Ten Years Ago: My Child as a Confederate Soldier
Eleven Years Ago: Wildflowers, Interpreted
Twelve Years Ago: At Last, a Tie-Dyed Quilt!