Showing posts with label bean bags. Show all posts

Saturday, January 29, 2022

How-to: Kid-Decorated Bean Bags from Stash Fabric


This tutorial was originally published on Crafting a Green World way back in 2013!

Got some stash light-colored fabric? 

 Got a bored kid? 

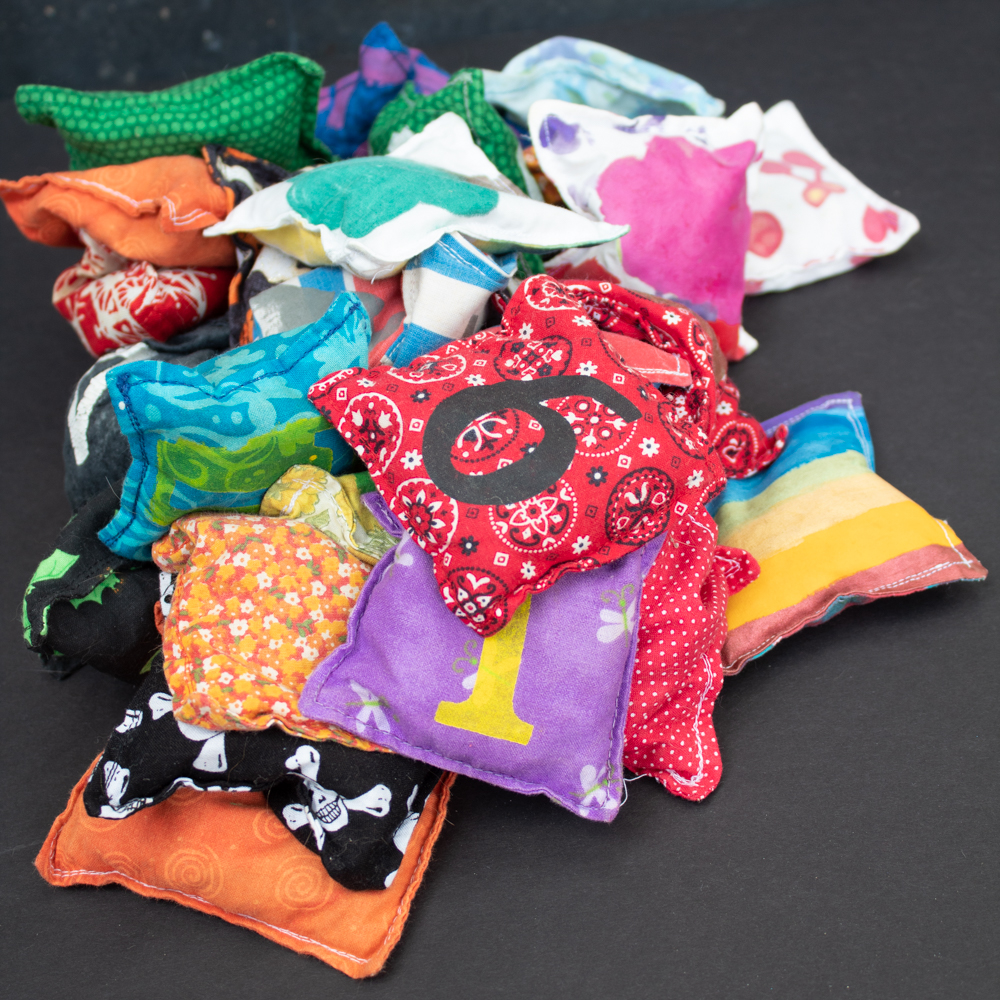
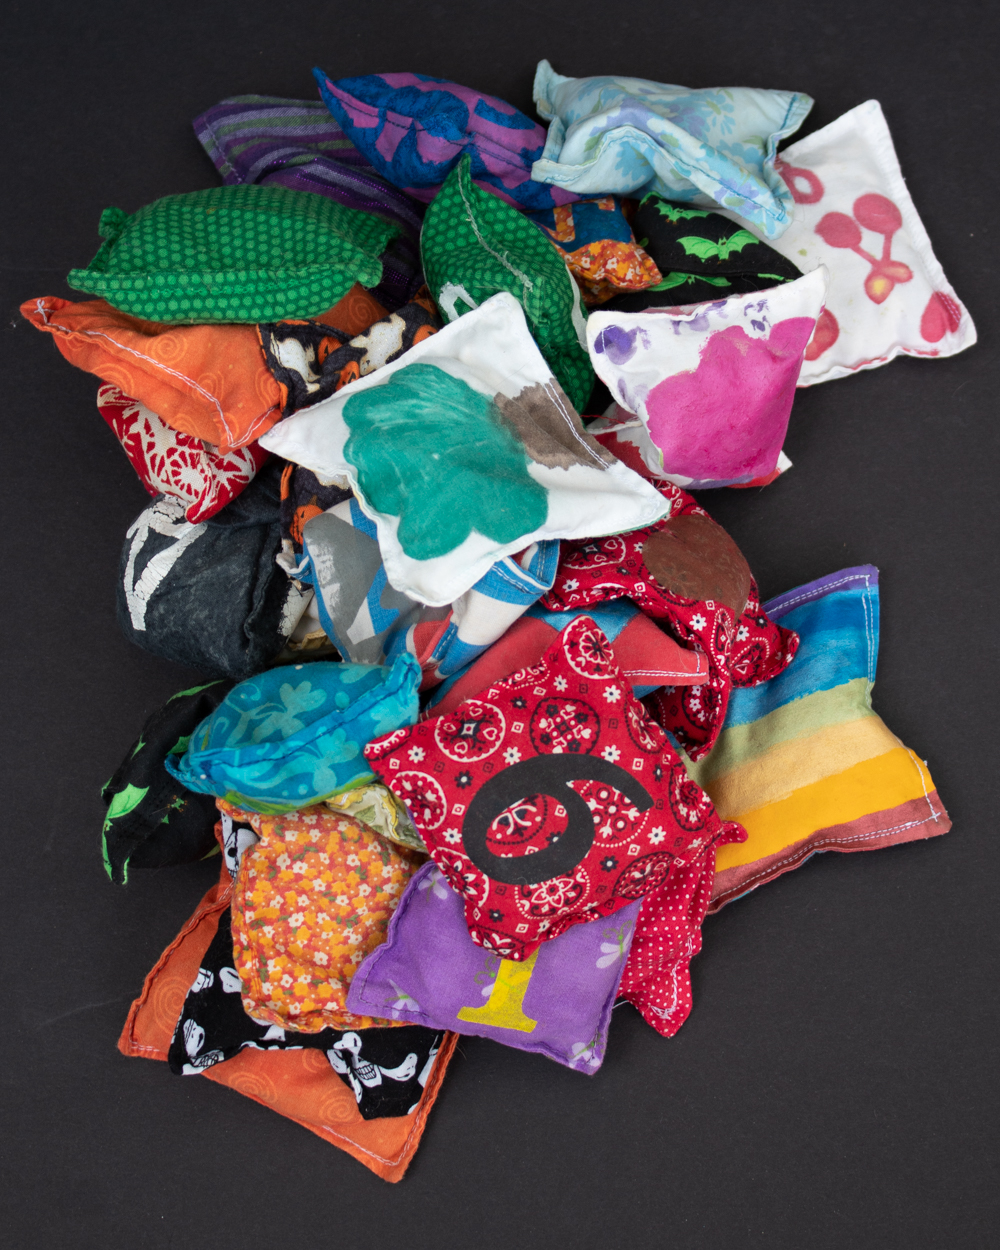
 These bean bags don't take much material, so any light-colored fabric from your scrap bin is great for this project. Your kiddos will have a fabulous time decorating them with fabric pens or fabric paints, and when they're done, just a few straight seams and a handful of beans turns them into a super-fun soft toy. 

 Kid-decorated bean bags make great gifts for children to help make for other children--perfect for all those summer birthday parties that you're constantly shuttling them off to. They'll keep them busy creating on a rainy day, and the finished bean bags are soft enough that a hurled one has a good chance of not knocking over something delicate and expensive in your living room. 

 Here's how to make your own: 

  1. Cut scrap fabric to size. We'll be following along with my original stenciled bean bags tutorial to make these kid-decorated ones, so I'm using my standard 4.5" square template. You can go larger, though, if you've got some larger scraps and you don't want to create waste by trimming them. Just stick to a square shape, and feel free to experiment! 

  2. Back with freezer paper, or starch the heck out of it! Stiffening the fabric is really essential to making this a kid-friendly project--kids don't like shifty, squiggly surfaces, and trying to use fabric markers to draw a detailed portrait of the cat on an un-stiffened piece of cotton is just a recipe for a tantrum. And don't you have enough of those already? 

 You can saturate the fabric with spray starch (have you tried homemade spray starch?), but my quicker, simpler solution is to iron freezer paper to the back of my fabric. It gives each square the sturdiness of paper, and my kids have no problems working on that surface. 


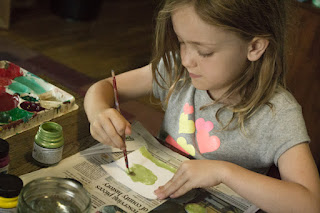
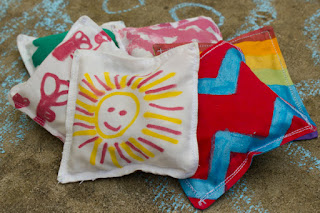
 3. Let the kids loose! I have a large selection of Jacquard fabric paint, Tee Juice markers, and Crayola fabric crayons, and I set my kids free with all of them. My kiddos LOVE to use the fabric paints and fabric markers, but I can't ever get them to try out the fabric crayons (too fussy!). 

 Whichever medium you use, let it dry and cure for at least 24 hours before the next step. 


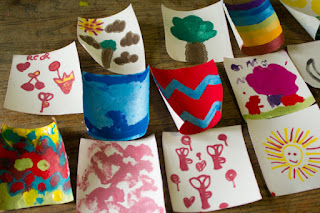
  4. Sew the bean bags. Follow my stenciled bean bags tutorial, or just wing it--it's not rocket surgery. You could use your own dried beans, but if you're going to purchase dried beans for these bean bags, though, go ahead and purchase white beans. It doesn't make a ton of difference, but especially if you're using thinner fabric and haven't covered the surface completely in paint, the white beans look a little nicer inside the bean bags than pinto beans do. 

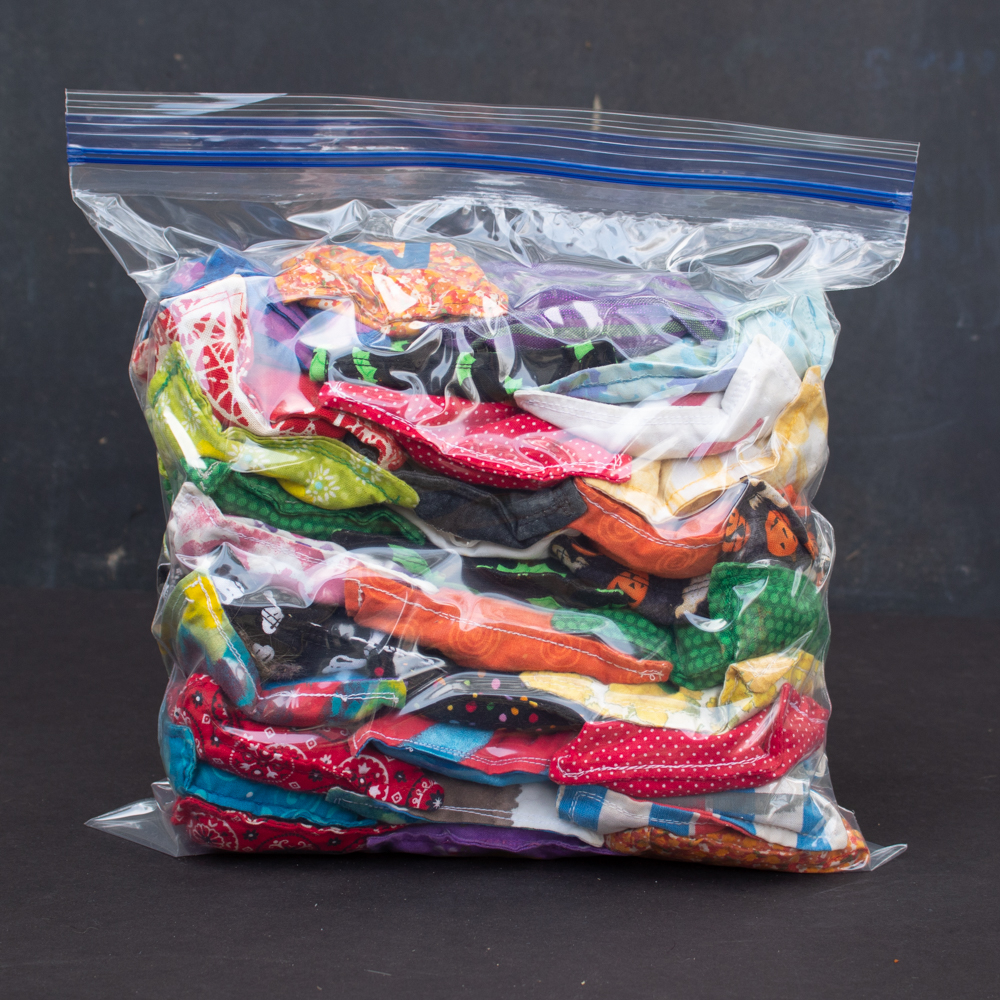
 Your kiddos can start playing with their bean bags as soon as you've finished sewing them. If you'd like to give them as a gift, it just takes another ten or so minutes to also sew up a nice drawstring bag to package them.

Saturday, January 22, 2022

Tutorial: Stenciled Bean Bags

 This tutorial was originally published on Crafting a Green World way back in 2010!

I like to make educational toys for my girls--matching games from their artwork, file folder games, extension activities for the books they read, anything that will allow them to incorporate what I want them to learn into the pleasures of their lives. These particular bean bags were inspired by my three-year-old, who hasn't yet memorized her numbers. Sure, she can count on her fingers and plays a mean game of Uncle Wiggily, but sit down long enough to figure out the difference between a 5 and a 9? Eh. Why not just call everything an 8? 

 The beauty of the stenciling, however, is that you can put anything that you want on these bean bags--kids' names, states and capitals, letters (I really want to make this alphabet bean bag set), or instructions for the craziest Game Night game ever! Here's how to make them: You will need:
  • fabric scraps measuring at least 4.5" square. I used quilting cotton, but canvas, upholstery remnants, felt, and even vinyl would work, although you might need to modify your stenciling method with a different fabric
  • sewing machine with a medium-weight universal needle and matching thread. I top-stitched around these puppies twice to make them secure, so I'd advise a thread that will blend, not fetchingly contrast, with your fabric here.
  • dried beans. I used pinto beans, which were the cheapest, and used about three pounds of dried beans for 30 bean bags. Any dried legumes, rice, or even cherry pits would also work.
  • freezer paper, sponge brush, and professional-quality fabric paint for freezer paper stenciling
1. Cut out two squares of 4.5" fabric for each bean bag that you want to make. 


 2. It's easy to paint the stencils on your fabric before you sew it together. I used my Cricut to cut the stencils directly into my freezer paper, and I stenciled the positive image of each number on one side and the negative image on the other side. If you haven't tried freezer paper stenciling before, it's easy--check out my freezer paper stencil tutorial for more tips and tricks. 

 3. Making sure that the stenciled images on each fabric square are aligned in the same direction, face the two sides of each bean bag together and sew around 3 and one-half sides--you're going to leave yourself an opening half of one side long for stuffing your bean bag. 

 4. Clip the corners of each bean bag to reduce bulk, then turn them right side out, using a chopstick or dull pencil to push the corners out nice and sharp. 

 5. Top-stitch twice around three sides of each bean bag--don't top-stitch around the side that has the opening, because you'll do that one after the bean bag is stuffed. 

 6. Fill each bean bag with dried beans. I like mine nice and stuffed, but in order to top-stitch easily and neatly close your opening, leave a least an inch's room at the top. 


 7. Top-stitch the side with the opening twice. This will neatly close the opening and give that side the same sturdiness as the other sides, while allowing it to match, as well. 


 Now they're ready for tossing!

Tuesday, January 18, 2022

The Putting Away of Childish Things... For Now


During the first year of the pandemic, back when we were all home all the time, Matt helped the kids do a HUGE clean-out of old toys from their playroom. I about wrung his neck when I saw the size of their donation pile, then hid in the bathroom and sobbed for a dramatically long time, then barely spoke to him for most of a week, and yet of course it had to be done sometime.

Although I don't know why it couldn't wait until after I've died of old age, but whatever. If the guy couldn't stand sharing his work-from-home office space with a billion toys that hadn't been played with in years, then he couldn't stand it, I guess. Or they're all just heartless and have no souls with which to appreciate the precious childhood memories locked into those toys.

ANYWAY!

Souls or not, they knew better than to so much as lay one finger on the things that I've made for the children over the years. Which just means that now, of course, I've got to take those precious memories--I mean stuff, of course it's all just stuff, ahem--off the shelves with my own hands and put it all away somewhere.

I dealt with the kids' play silks first, keeping only the ones that still looked pristine or that the kids had helped me make, washing them and hanging them out to dry and then folding them up and sealing them away in plastic.

Next, Syd helped me deal with the kids' HUGE collection of bean bags. The kids adored bean bags for a ton of years, and every so often I'd make them a new set. Rainbow bean bags. Stenciled bean bags. Halloween bean bags. Bean bags with their art on them.

Again, we kept only the ones that are still perfect and the ones that the kids did the decorating for. That still resulted in quite a stash!


Bean bags don't wash, so I only had to air them out (okay, and photograph them!) one more time before putting them in plastic:


I hope the kids appreciate all the extra room they've now got for their boring teenager stuff, humph! And next we've apparently got to go through their nearly infinite supply of small plastic animals (I'd say we should have bought stock in Schleich, but they're pretty much all secondhand), because who needs an entire wall of toy animals when you're a teenager?

I mean, I probably only have to store them away until both kids move out, and then I can get all of my favorite toys of theirs back out and remodel their room into a shrine to their childhoods...