Showing posts with label garden. Show all posts

Saturday, August 22, 2020

How to Make Stamped Clay Seed Bombs

I originally published this tutorial on Crafting a Green World.

I used to think that seed bombs do not work, full stop.

And to be fair, I had a good reason for my opinion, because most of the seed bomb tutorials that you see online just do NOT work! Here's why:

  • If the seed bomb is too big, it's not going to be able to dissolve in good time and release the seeds.
  • If the seed bomb recipe calls for too much liquid, the seeds will germinate prematurely and then die.
  • If the seed bomb recipe calls for too many seeds, they'll crowd each other out before they can grow.
  • If the seed bomb gets tossed out at anything other than JUST the right time, it won't get the proper amount of rainfall required to dissolve the bomb and nurture the seeds.

When there are so many things wrong with so many of the seed bomb tutorials that you see, it's easy to think that the whole concept is a bad one.

But done properly, and distributed carefully, seed bombs CAN work.

Here's what you'll need to do it right.

Ingredients & Supplies

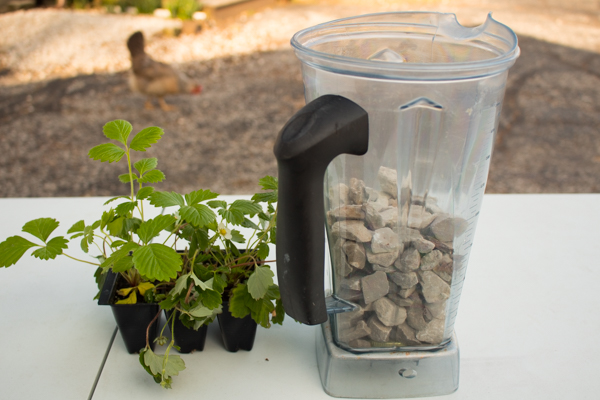
  • Air dry clay. I'd suggest something non-pigmented and natural-looking, not something like Model Magic, which is super fun and my kids play with it but I have NO idea what it's made of. If you don't know what it's made of, you certainly don't want it in your garden!
  • Seed starting mix or other potting soil. Your favorite seed starting mix will work well here, but any kind of nutritious potting soil will do.  And again, avoid potting soils with "moisture retention beads" or "water crystals" included; those are just fun names for the same kind of polymer that's used in disposable diapers. You don't want that in your garden, either!
  • Native seed mix. Not all greenhouses are ethical providers of native seeds, so check with your local native plant society before you buy a packet. Better yet, save your own seeds from your favorite native plants and use those.
  • Small stamp. A regular scrapbooking stamp is exactly what you need. Scrapbooking used to be big business, so you should be able to find any stamp design you can dream of.

Directions

1. Get your hands dirty

Pinch off an amount of clay the size of a large marble--remember that the best seed bomb is a SMALL seed bomb, so don't overdo it.

2. Roll the clay into a ball between the palms of your hands

Might as well go ahead and get a little dirtier! Use the tip of a finger to make an indentation in the clay ball, and fill the indentation with as much potting soil or seed starting mix as will fit.

3. Add the seeds

Be very stingy with the number of seeds that you put in your seed bomb because you don't want them to crowd each other out of existence. Three to four seeds is plenty!


4. Seal the potting soil and seeds inside the bomb

Pull the sides of the seed bomb over the top to seal in the potting soil and seeds, then roll it around your palms again to make it back into a nice, smooth sphere.

5. Stamp the top of the seed bomb

Press hard with the stamp; you'll slightly flatten the seed bomb, but will make your stamped impression stand out nicely.

6. Let air dry

Let the seed bombs air dry for at least as long as the package of air-dry clay instructs. Thanks to the potting soil center, the seed bomb might take even longer to dry.

When the seed bombs are dry, you can store them in the same cool, dry, dark spot where you store the rest of your garden seeds. To use them, toss them onto the ground whenever the growing conditions outside match the seed packet's specifications AND there's a lot of rain in the forecast for the next week or so.

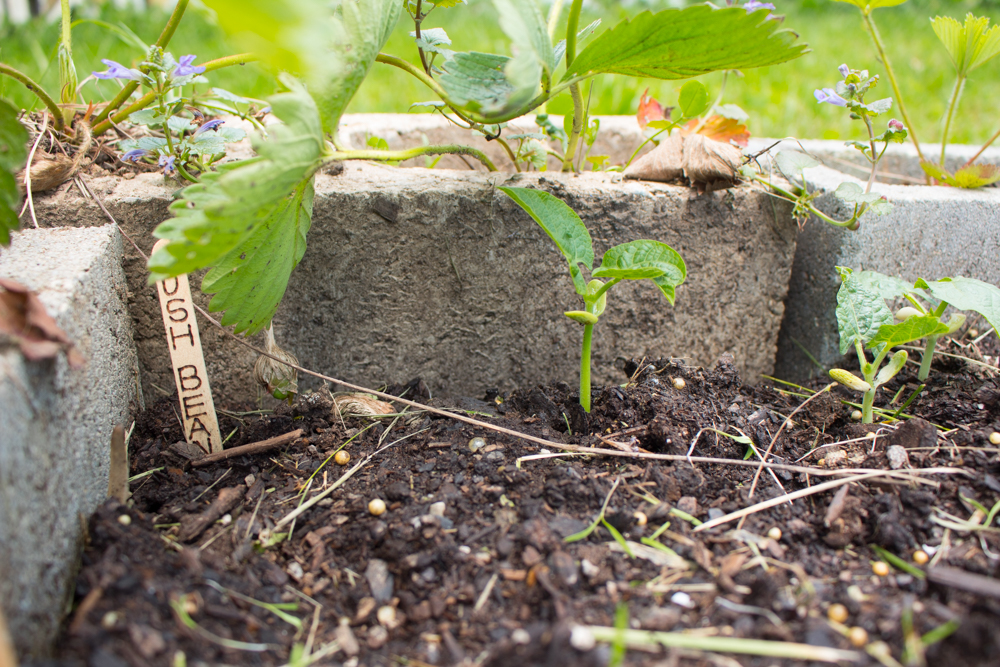
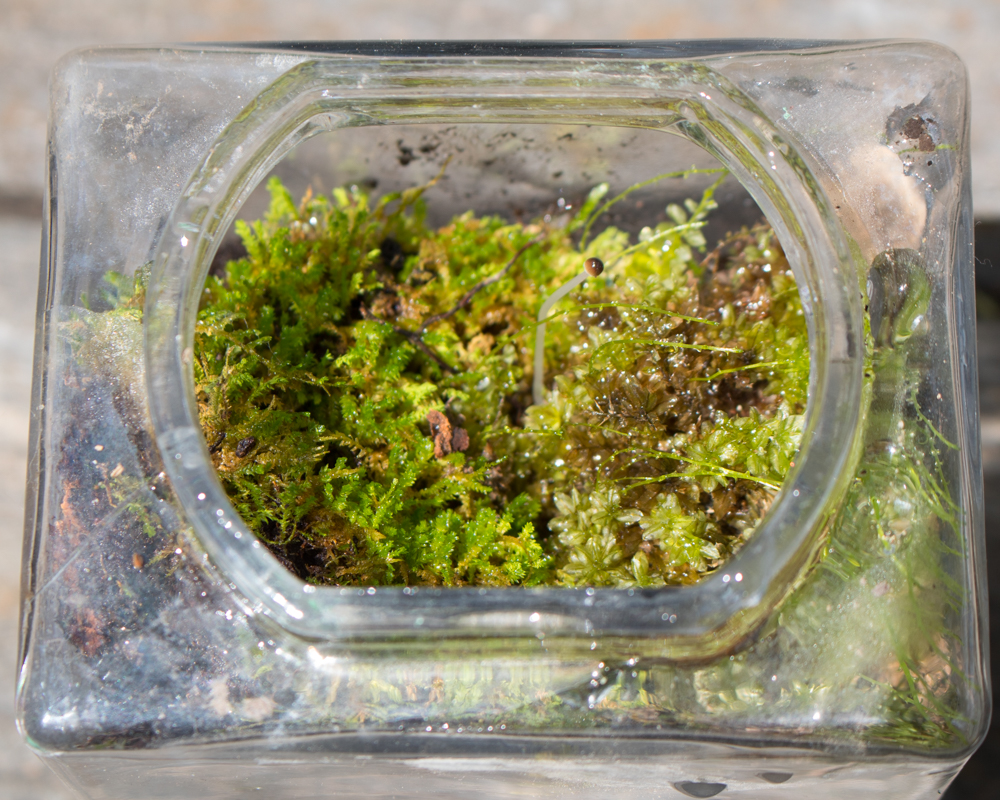
Another option is to simply press a seed bomb down into the dirt in your garden or a flowerpot and water regularly. I planted a seed bomb in a pot in my windowsill just for fun (I don't think the native plants will last inside all winter, but it's worth the experiment), and look how cute my little seedling babies are, growing out from under the safety net of their seed bomb!

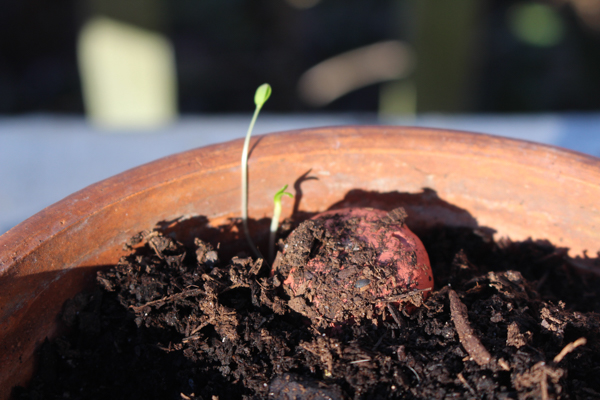
My watering can didn't exactly mimic the right rainfall conditions to properly dissolve the clay exterior of the seed bomb, but even so, it was enough to get a couple of sturdy little seeds germinated and growing happily.

Imagine how happy they'll be when I toss them around the garden!


Saturday, July 25, 2020

Turn an Old Blender into a Planter

I originally published this tutorial on Crafting a Green World.

Yes, that's a super-expensive Vitamix blender pitcher that finally cracked (it's too embarrassing to tell you why, but I assure you it was because of Reasons).

No, I could not stand to simply toss it away, even after it spit something like a half-gallon of hot tomato soup onto the counter before I figured out it was broken.

Instead, I did what I do with every single even vaguely container-shaped piece of junk that needs a second life around here--I turned it into a planter!

The process is so easy that yes, you, too, should be turning every single even vaguely container-shaped piece of junk into a planter. Think about how much sturdier your piece of junk is than a chippy terra cotta pot, and how much more eco-friendly than a brand-new plastic pot.

And think about how roomy that beautiful broken blender pitcher is. So much space for strawberries!

Tools and Supplies

Here's what you need to plant strawberries or anything else that delights you, in your own broken blender pitcher:

  • old jar lid (optional: see Step #1 to see if you'll need one)
  • gravel
  • potting mix
  • plant

Directions

1. Prepare the blender to be water-tight.

Blender pitchers have their blade attachment at the bottom. Generally, this won't be a problem, and in fact, it's even easier to turn your blender pitcher into a planter if you keep the blades installed.

However, this is my super-expensive Vitamix blender pitcher that we're talking about here. I saved up a LONG time to buy that baby, and I sure ain't dropping a ton more money for another entire brand-new pitcher! Instead, my partner removed the blade attachment from this broken pitcher and installed it in the new pitcher that I bought to replace it. It was still pricey as heck, but way less expensive than buying the complete replacement pitcher with the blades included.

So if you, too, have removed the blade attachment from your blender pitcher, making the pitcher water-tight again is as easy as scavenging an old jar lid that is larger than the hole but smaller than the bottom of your blender. Set the lid over the hole and you're done. If you want to be perfectly safe, use epoxy glue to adhere the lid in place, but since the next step is going to be filling something like half this pitcher with rocks, all that weight will also keep the lid in place.

2. Add a layer of rocks.

This depends on the plant, of course, but it's likely that your blender pitcher is far deeper than necessary. Instead of wasting a LOT of potting soil in that space, fill up what you don't need with rocks.

Some really cute options would be river rocks, broken pottery pieces, shells, even aquarium gravel if you've got it, but I am flat out of cute rocks and such and so honestly, I just scooped up some of the gravel off of my driveway.

Whatever. Pretend like it was a thoughtful aesthetic choice.

3. And then you plant!

I'm so in love with the transparency of this planter. Look at what pretty layers the rocks and potting soil make--even prettier if you add that aquarium gravel or shells or pottery shards! I'm also loving the fact that it's got a handle, making it easy for me to move around; add just the right bracket, and you could also hang it or mount it somewhere fun.

And that's how you might find me deliberately thrifting old blender pitchers this year--because now I'm all about the idea of a planter with a handle!

Sunday, May 24, 2020

Wood-Burned Popsicle Stick Plant Markers


Our spring is so rainy, and our property so much wants to be a marsh, that the opportunities to actually get out and get seeds into the dirt during that precious getting-seeds-into-the-dirt window are few and far between, and you have to jump on them when they appear.

Like, you're just looking out the window, minding your own business, and you're all, "Oh, sun! Hey, there was some sun yesterday, too, so maybe if I go out in the yard I'll only sink up to my ankles in mud, not my thighs! I should go plant ALL THE THINGS!!!"

That's how, a couple of weekends ago, I ended up in a frenzy of planting all the things (not ALL the things, because we weren't far enough from the last frost to plant the sunflower seeds, but definitely all the OTHER things!), and I discovered that I needed some plant markers, stat!

I don't expect these popsicle stick plant makers to last beyond this season, because popsicle sticks aren't terribly hardy, but they turned out to be exactly what I needed at the moment I was in need:


I'm moving most of my garden plots around AGAIN, so since these popsicle sticks take just a couple of minutes to wood burn, it was easy for me to be all, "Okay... I think I'll try the radishes here this year and then the carrots can go here and, why not, how about I stick another row of radishes behind them," and then pop inside and quickly make the markers and put them in the ground before I forgot which was which and what I put where:


I already have a nice, bark-free stick saved up from a recent hike in our woods to wood burn something a little nicer for the perennials, but honestly, I'll probably just throw those radish and carrot markers in the fire pit when I'm through with them...

... because they clearly can't go back in the same garden plot next year, as Spots would rather sleep in it. Le SIGH!!!

This sage is from a pack of old-ish seeds that I found. I'm SUPER excited that it's growing!

I move this pot of catnip to a new hiding spot every time a cat finds it, because otherwise they'll eat it to the ground and then they won't have anymore catnip!


I'm excited about my little garden this year, because this is probably the first year since I've gardened that I won't be going away at all, and therefore I can dote on it all summer long. No chance of coming home after two weeks to a half-overgrown, half-dead, totally weedy plot that's been invaded by every rabbit within two miles!

I mean, I'd rather have the big trip that I planned with my Girl Scout troop and a ratty garden, but at least I get carrots and radishes and tomatoes and basil along with my miserable frustration and disappointment.

Friday, May 22, 2020

We Made Terrariums... and I LOVE Them!


We didn't exactly make the self-contained ecosystems that was my intended hands-on project for the Principles of Ecology chapter in CK-12 Biology

Honestly, adding any animals into our lives, however tiny and shrimp- or snail-like, is just a recipe for me fretting endlessly about their health, safety, and emotional well-being. The years that the kids had pet fish encompassed some of the most miserable day-to-day experiences of my life. I'm stressed out enough in general, and if Will wants to incubate chickens this summer I'll be stressed out even more, and I just don't have it in me to experiment with the lives of tiny critters in a sealed plant world.

Maybe later this summer we'll collect some jars of pond water and watch them for a few weeks. 

Terrariums are MUCH more my speed, and the kids were super into the idea, as well, so that's what we did!

Happily, we were able to make our terrariums entirely from supplies we already own, although that's mostly because I'm a supplies hoarder. Here's what we used:
  • glass container with a loose-fitting lid. This keeps most of the moisture inside, while still allowing some air flow. We used some old solar-powered lanterns that were on our property, not working, when we moved here... yeah, I've had them kicking around until 2012. And I'm STILL hoarding the flat-backed glass marbles that were inside them!
  • rocks. I need to stop using the rocks that I bought for landscaping for craft projects, instead. Also, I need to buy more rocks for landscaping.
  • activated charcoal. I bought this a few Halloweens ago to make black food. It's just occurred to me that I bet I could dye play dough with it! It's also good for soapmaking and bath bombs.
  • peat moss. I HATE that I bought this once upon a time, because peat is SO unsustainably sourced. I am never, never, never going to buy it again, although I guess that means I'll have to research what to use for terrariums instead!
  • potting soil. This is basic potting soil, with no fertilizers or moisture-retaining polymer beads.
  • plants. Mosses and ferns and other shade-loving woodsy botanicals do great in terrariums like this.
When the kids were so busy with extracurriculars (if we were homeschoolers, why were we never home?!?), we'd probably have split this project up into two or even three days, so it is true, I guess, that one of our pandemic silver linings is that we're lucky enough to all be quarantined together, with time to do big projects all in one day and space on our own property in which to do them.

I'd still rather my kids had their ballet classes and summer camp internships and our big Girl Scout troop trip, though!

We're lucky enough to be together at home, though, and so together we spent one morning making our terrariums!

We put a layer of rocks at the bottom, added two-ish scoops of charcoal to cover, then an inch or so of peat moss, then a couple of inches of potting soil:


And then we went for a hike in our woods:

Can you see the elusive Spots? Torties are pretty well camouflaged in the spring woods!


Among the mayapples and Jack in the Pulpit, we collected little mosses and ferns, trying to include as much of their matrices as we could along with them, and trying for at least a couple of different kinds of plants, in case some didn't take:


Syd found a lovely horn corral fossil that she gave to me for my terrarium, and in our little creek I found a well-worn vintage green glass marble that also went in.

The lids of our old solar lanterns were an ugly chipped black, so I asked the kids if they would like to repaint them:


Indeed, they would!


We've had our terrariums for almost two months now, long enough for the plants to see if they like it and settle in if they do.

Syd says that she forgot she owned her terrarium (sigh), and it definitely needed a few caps of water when I went off to investigate it--


--but look how it's thriving!


Will's plants were so thrilled to be there that we had to remove the lid to give them some more space to blissfully spread out!


Matt's might be the most successful, since it's not clear if he ever even knew that Syd made him this terrarium:


You guys, it's got a wee little MUSHROOM!!!

My terrarium, which I dote on far more than the children dote on theirs, is the least vigorous, but it's happy, as well.


Even if it wasn't part of our biology study, this was the perfect spring project. Now I just have to go put mine on a shelf somewhere where I can forget it for a couple of months, so it can grow as happy as the rest of the family's terrariums!

Tuesday, September 10, 2019

We Made Pressed Flower Bookmarks!

I am absolutely enchanted by this nine-year-old tutorial for making pressed wildflower bookmarks, even more so because the author states that the tutorial was originally found in a 1950s Boy Scout manual.

And now here's me interlibrary loaning a bunch of old Boy Scout manuals from our university library (You know I already interlibrary loaned all the old Girl Scout manuals and read them years ago)...

The kids are working on earning the Wildflowers of Ohio fun patch--each of them has just one more activity left!--and one of the steps asks girls to "make something" with wildflowers.

Obviously, that's my favorite step!

I gave the girls some options, including inventing their own wildflower craft or looking through Pinterest to find something that appealed to them, but I also showed them this particular craft that I've been wanting to do for a while, and I asked if they might want to try it with me.

They did, and so we did. And it turned out amazing!

Our first step was to spend an afternoon collecting and drying a bunch of flowers, some from a neighborhood wildflower walk, and some from my garden:


Fun fact: if you're not drying your flowers in the microwave, you should be!

We completed the tutorial pretty much as instructed, except that I collected several templates--playing card, bookmark, business card, 8x10 cardstock--and we traced the template that we wanted onto the wax paper first, so that we could arrange the dried flowers prettily in the space. Syd make bookmarks, and Will got quite invested in one 8x10 piece that she can use to embellish a journal cover:


I actually really like painting the single ply of tissue over the flowers. It's fussy and it takes a while, but it's easy and you can listen to music. Here, we listened to the Hadestown Broadway soundtrack and I interrupted it every six seconds to expand on the theming, wax rhapsodic about the choreography, add context, and basically blather on endless annoying interjections.


Just as the tutorial states, we then let them dry for a day, backed them with watercolor paper and sewed the fronts and backs together, and dabbed on matte medium. We let them dry for another day, and then they were absolutely perfect.

Here's my bookmark!


And here are some pieces the size of playing cards that I made:


I'd originally intended them to be handmade business cards, because I am ALWAYS in need of more handmade business cards, but now that I've made them I might love them too much to simply toss them in someone's Pumpkin+Bear order (unless you ask me to--then I happily will!).

Instead, I'm kind of wondering if I could use them as permanent, reusable gift tags for our family holidays. If I got Matt to write a recipient's name on the back very prettily, and we were quite careful, couldn't we use the same tag for a gift to that person on every holiday?


Of course, I'd need lots more if I wanted to cover, say, an entire Christmas worth of gifts to every person, but over the course of several years it would surely be a more eco-friendly option than gift tags that are used and tossed every year, especially if I also found a reusable gift wrap solution.

Any excuse to make more of these dried flower cards, I suppose!

Saturday, October 20, 2018

Upcycle A Valentine Candy Box into a Concrete Mosaic


I freelance over at Crafting a Green World, an eco-friendly crafting blog. Every now and then, on a non-regular basis, I'll share one of my favorite tutorials with you..

...such as this one! I originally published this concrete mosaic from a Valentine candy box tute here at Crafting a Green World.

Whether your Valentine's Day consisted of a romantic evening with your loved one or an evening alone with your pain, it very likely involved a box of chocolates. Even if you make an effort to avoid frivolous expenditures and excessive packaging, that heart-shaped box of chocolates is hard to avoid.

No matter your best intentions, you'll likely find yourself on February 15 with an empty box larger than your head, made from bleached cardboard, with a non-recyclable plastic tray (topped with another non-recyclable piece of corrugated cardboard) inside, and non-recyclable paper wrappers inside that.

I don't have a ton of help for the paper and the plastic, but that heart-shaped cardboard box? I know exactly what you should do with that! You are going to make yourself a concrete mosaic for your garden or yard. Here's how you're going to do it!

Supplies

Empty Valentine Boxes. The heart-shaped Valentine boxes automatically make awesomely adorable molds, but any sturdy cardboard box will work. Be warned that a box made of flimsy cardboard will bend and bow and likely give way under the weight of wet cement, so stick to super sturdy cardboard.

Portland Cement Or Another Comparable Brand. I like Portland cement, and I know exactly what ratios I like best with it, but you're welcome to use your own favorite brand of cement. Even better, hit up your local Freecycle and find someone's half-used bag of cement that they're giving away for free--that can become YOUR favorite brand!

Playground Sand. You don't necessarily have to mix your cement with sand if your mosaic will be decorative only, but you should mix in two to three parts sand when making a mosaic stepping stone.

Chicken Wire (optional). I did not use chicken wire for the concrete mosaics in this tutorial, but if I'm making a larger stepping stone, I will put a layer of chicken wire on the bottom of my mold, then pour the cement onto it. It makes a stepping stone just that little bit stronger.

Tesserae. These are the little doohickeys that you embed in the cement to make your mosaic, and you can use anything! In this tutorial, my kids and I are using a combination of store-bought glass tiles and a bunch of multi-sided dice from my homeschool stash. You can also see a broken plate in a couple of the pics; every time my kids break a piece of my Fiesta Ware (sigh...), I set it aside for a future mosaic. I didn't go for it this time, but at the rate my kids are going, I'm going to be able to mosaic a full-on Roman bath by the end of this summer.


Directions

1. Mix and pour the cement. Mix your cement according to the directions on the package. My Portland cement calls for sand in a 1:2 or 1:3 ratio with the cement; I used a 1:2 ratio for this project.

2. Place the tesserae. This is time-sensitive, in that you can only place the tesserae while the cement is wet enough to place them, but you don't have to move as quickly as you do with plaster of Paris, say. Unlike with plaster of Paris, however, here you do have to make sure that you've embedded each tile well enough for the cement to grip it; give each one a wiggle and make sure it's worked in well.


3. Let cure. This takes quite a well, depending on your weather. When we made these particular stepping stones, it was the one nice day before another string of cold, wet days, and so it took these stepping stones two full weeks to cure, even though they were kept indoors. Be wary, as the stepping stones will get more fragile before they strengthen--try to unmold them from their candy boxes too soon, and you'll be bummed when they break apart in your hands.


4. Unmold the stepping stones. By the time your cement is mostly cured, you can safely peel the wet cardboard away from the sides of the mold, and then remove the bottom of the candy box when the cement is fully dry. Buff any dry cement off of the tiles and shine them up, and your stepping stone is ready!


 If you want your stepping stone to last indefinitely outdoors, you'll want to seal it, but even without that added measure, your mosaic should happily endure for several seasons.