Indiana has been under glaciers numerous times during its geological history, and there are some unique components of glacial geography that it's important to understand. Not only do glaciers carve out valleys and make rivers out of their run-off, but they also leave behind a lot of junk as they advance and retreat, moving substrate and then depositing it somewhere else. This is called drift, and we're going to model how it works!
Note: we did this on a seed starting tray with glaciers molded in small Tupperware containers, and it worked okay, but the bigger, and therefore heavier, you can make your model, the better. If I could have figured out the tray part, I'd have happily had the kids form their glaciers in our largest mixing bowls.
1. Make the glaciers. You'll need some sand, some gravel, some water, and a bowl. Cover the bottom of the bowl with sand and gravel, then pour water in to fill the bowl. Stir it up just a bit, then put it in the freezer until completely frozen. If you're using a big mixing bowl like I wanted to, have the kids do this on one day, as they learn about what makes up a glacier and how they travel, and then complete the rest of this model on the next day.
2. Make the topography. Fill the biggest tray that you can find with potting soil, and pack it down. Set it up on a surface with one end elevated; we used a few bricks for this. You're trying for an angle that's as steep as you can get it without the glacier sliding down before it's melting.
3. Set up the model. Set your glacier at the highest point of the tray. Push it into the soil a bit, because glaciers are heavy!
 |
| We have two models, because we have two kids. |
This is an excellent activity for a summer day. I mean, it's such a hardship to sit in the shade and read in between glacier check-ups:

5. Observe the model. Depending on the weight of your glacier and the steepness of the tray, your model could do some different things, but it will more or less both gradually slide down the tray as it melts, and simply melt. Both actions will result in drift, which is the eroded substrate, previously picked up by the glacier, now being deposited in a different location. Most of the time, whether the glacier leaves it behind as it retreats or simply melts in place, your drift will be till, which is directly deposited by the glacier.
If you've got an exceptionally big glacier exceptionally full of stuff, however, you may be rewarded with outwash, which is drift that's moved by a flow of glacial meltwater to a new location. If you don't get that the first time, you can always ask the kids to rejigger the model so that it happens--add a little STEM problem-solving into your geography study!
Here are some more glacier activities. Some we've done, some are in my work plans, and some I'll probably save for a future study:
- Mark the outward boundary of Ice Age glaciers on a map. I had the big kid do this with our homemade waxed yarn right on our big wall map of the US. This waxed yarn works just like Wikki Stix, which means that it will stick to our laminated map but still pull off cleanly. And since the map is laminated, the big kid was able to use a dry-erase marker to update the map's legend, and it's still wipeable.
- Complete the Glacier National Park Junior Ranger activities. Glacier National Park isn't one of the national parks that let kids complete the Junior Ranger book at home and then mail it in for a badge, but they do have pdfs of many of the activities from the badge book, so kids can still work them.
- Glacier Bay National Park and Preserve has the same setup--you can download the Junior Ranger book, but I don't *think* you can mail it in for a badge. If you try it, however, let me know!
- Homemade slime can also be set up to simulate the movement of a glacier. Here's one tute for that activity.
- Compare the movement of glaciers. This is another interesting science experiment, to test whether clean ice or ice full of drift melts faster.
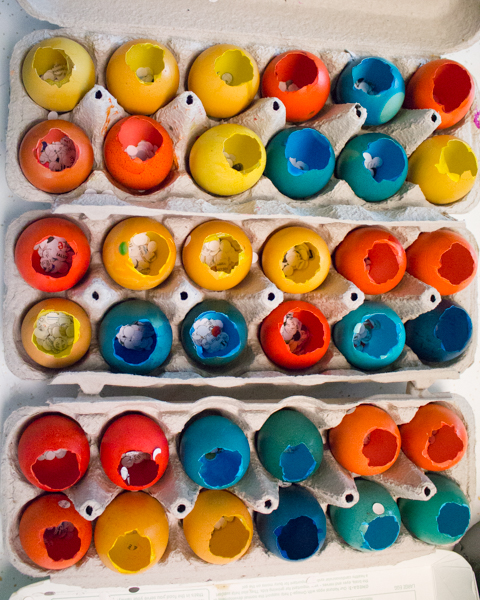
- Excavate ice treasures. This doesn't really have anything to do with glaciers, but if you've got little ones around, it's easy to set this activity up for them at the same time that bigger kids are setting up their glacier model.
- It's the same with the ice vs. salt activity--it's just fun and sensorial and even older kids will like it!
And here are some glacier books that we've enjoyed!
P.S. Want to follow along with my craft projects, books I'm reading, road trips to weird old cemeteries, looming mid-life crisis, and other various adventures on the daily? Find me on my Craft Knife Facebook page!