This tutorial was originally published on Crafting a Green World in 2017.
Save those empty cookie and cake mix boxes! Here's how to make postcards from your empty food boxes. Ones that you can really mail!
If you thought that my DIY coloring postcards were easy, then you're in for an even bigger treat, because postcards made from food packaging? Kind of the easiest thing EVER. Seriously, you don't even need a tutorial for this business. All you have to do is grab yourself some cardboard food packaging, the dorkier the better (check out my Funfetti, Friends! I can't tell my daughter no!).
How to Make Postcards from Food Packaging
Cut the postcard to any of the dimensions allowable in the USPS postcard regulations. These regulations call for a postcard height between 3.5" and 4.25", and a length between 5" and 6". Cardboard food packaging already meets the USPS regulations for postcard thickness. As long as your postcard stays within these allowable dimensions, you can play a bit with the edges. I like to round the corners (although if you don't have a corner rounder, which is, I admit, a kind of ridiculous tool to own, it can be tricky to get these rounded corners to look completely even). You can also very lightly scallop the edges of your postcard (check out this postcard of the Grand Canyon to see what that looks like), although be sure that you stay within the allowable dimensions.
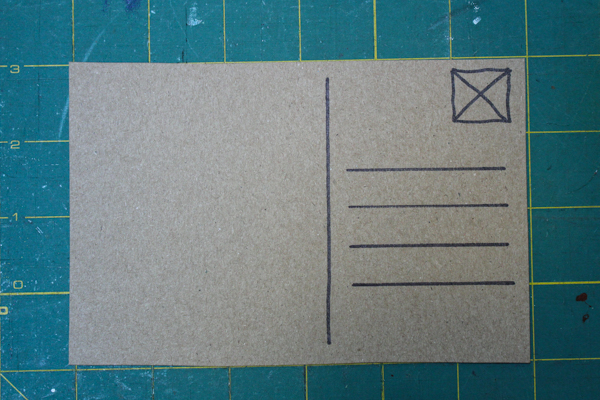
I like to draw a line separating the message of the postcard from the space for the address, and sometimes I like to also draw guidelines for the address and a square for the stamp, just to make it look more balanced. If you have Sharpies or paint pens, you could also embellish the front of your postcard--doesn't Tony the Tiger want to wear a golden crown on his head?


No comments:
Post a Comment