Here is how to make my absolutely perfect cloth face mask with ties instead of elastic!
I took my general sizing from the CDC's recommendation of cloth face coverings, but I took the length down a little, because that extra fabric isn't really doing any extra work. I also adjusted this face mask from my elastic face masks, making the pleated sides more professionally finished and reducing some bulk by doing away with now-unnecessary side seams.
The result, I think, is a mask that's quick to sew, sturdy and washable, comfortable and adjustable to a range of sizes.
And although I hate having to see my loved ones wearing face masks, I think these look very nice!
To make this cloth face mask with ties, you need the following supplies:
- cotton fabric, two pieces that measure approximately 8"x 6". Quilting cotton is my preference for this, although any fabric around that weight should work, for instance most polyester/cotton blends, linen, or silk. I personally think that jersey knit is too light and denim is too heavy, although I have seen homemade masks sewn from both.
- double-fold bias tape, 1/4"x 2 yards. I'm less picky about the bias tape, mainly because pre-made 100% cotton bias tape is hella expensive and making my own is not the way I want to spend my afternoon. I'm very happy with this bias tape, which is a polyester/cotton blend that I've bought for years from the same supplier.
- Matching needle and thread. My sewing machine is CRANKY, so I'm also picky about needles. I use a jeans needle for this project because my sewing machine protests the bias tape otherwise. For sewing just the two pieces of quilting cotton together you can either test the jeans needle first on scrap fabric and adjust the thread tension, because otherwise it's a little overpowered, or switch to a universal needle.
- iron
- measuring and cutting supplies.
1. Facing the two pieces of 8"x 6" fabric right sides together, sew down the two long sides. I like a 1/4" seam allowance for this. I also like to use up my weird thread for these types of seams, since you'll never, ever see that thread on the finished mask.
3. Fold and iron the pleats. I like the pleats to be as even as possible, so here's the best way to do it:
- From the bottom of the fabric piece, measure up and mark in chalk 1", then 1.5".
- Fold the 1.5" line down to meet the 1" line. Iron to crease. If necessary, pin it to keep it in place.
- On the back side of the fabric, the top of that pleat should measure 1" from the bottom of the fabric. From that point, measure up and mark in chalk another 1".
- Fold the 1" line down to meet the top of the pleat. Iron to crease. If necessary, pin it to keep it in place.
- On the back side of the fabric, the top of the highest pleat should measure 1.5", and there should be about 1.5" of unpleated fabric above it. Measure up and mark in chalk 3/4" from the top pleat.
If you don't have 1.5" of unpleated fabric above that top pleat, don't freak out! Just measure up and mark in chalk the halfway point.
- Fold the chalked line down to meet the top of the highest pleat. Eyeball to see if the top of the fabric now matches the bottom. If not, adjust it a little so that they look even, then iron to crease. If necessary, pin it to keep it in place.
4. Baste both short sides to keep the pleats in place.
5. Cut your bias tape in half. Now, you should have two pieces that are each one yard long. Fold each in half, iron to crease, then unfold.
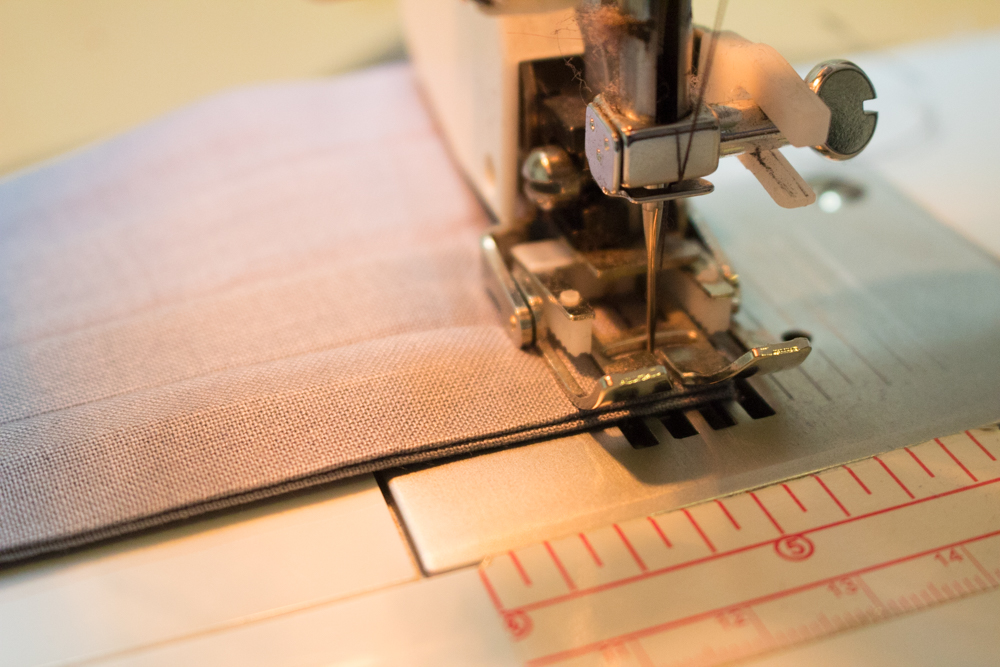
6. Sew the bias tape to the short sides of the mask. NOW you need to switch to thread that matches your bias tape!
Match the center crease of the bias tape to the middle pleat on the face mask on each side, and pin into place.
Sew the bias tape closed down its entire length. If you're worried about the fabric feeding unevenly, you can start sewing at the top of the fabric mask down to the bottom end of the bias tape, then reverse it and sew the top tie closed.
Knot the end of each tie, if you like, and then try it on for size!
This face mask should fit most adults and teens, and even most tweens, but sometimes for smaller faces all that fabric can feel claustrophobic. Next week, I'll show you how to size the face mask down to fit big kids and little kids.
And if you don't want to make your own face mask at all, you can buy a face mask from me. I'll even let you pick all your own colors!


No comments:
Post a Comment