My kids don't even play with their American Girl dolls anymore, and I don't even care--I'm still sewing them matching outfits and adding cute DIY accessories to my dollmaking Pinboard.
It's not a non-possibility that when both kids move out one day I'll turn their bedroom into an American Girl doll world and set up a bunch of little handmade scenes that the dolls can prance through wearing their handmade clothing and accessories.
Just... come find me there sometimes and bring me snacks, okay?
Anyway, for obvious reasons I deeply needed to make the kids' American Girl dolls face masks that match the kids' own face masks that I made them. It took some fiddling to get those tiny pleats just right, but I'm super happy with the pattern now, so much so that I've also been selling American Girl doll masks in custom colors in my Pumpkin+Bear etsy shop, and I'm going to show YOU how to make them, too!
Here's what you need to make your own fabric face mask for an American Girl doll:
- fabric. Unlike with my human face masks, it does not matter what kind of fabric you use for these face masks, because your doll doesn't care whether or not the fabric touching its doll skin is 100% natural. The important things are that the fabric is thin enough to pleat and can be ironed on hot. I HIGHLY recommend using up your fabric scraps for this project!
- bias tape. I use a poly-cotton blend 1/4" bias tape for my human masks, and the great thing about it is that it also works perfectly for these doll masks. I wouldn't go any wider than this on the bias tape, because you want it to look proportional to the doll.
- matching needle and thread. I like a universal needle for sewing the mask fabric, and a jeans needle for sewing the bias tape.
- iron
- measuring and cutting supplies
1. Cut the fabric and bias tape to size. Cut two pieces of your fabric to 3.5"x3". Cut two pieces of bias tape 21" long. I really like this photo that shows all the cut fabric sizes for adult, big kid, little kid, and doll masks. The doll mask fabric is the tiny one at the bottom!
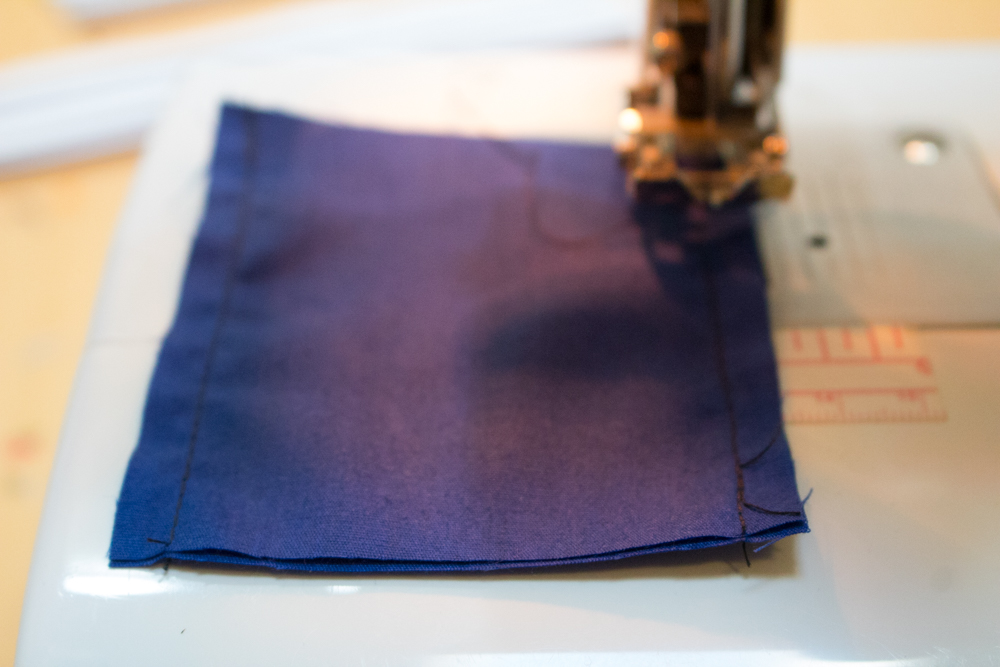
2. Sew the fabric. Put the two pieces of fabric right sides together, then sew down both 3.5" lengths with a 1/4" seam:
Turn it right side out and iron the seams to press them flat:
3. Pleat the mask. Because your piece is now approximately 2.5"x3.5", the pleats are a little fiddly to make. First, measure and mark a chalk line approximately 1/4" from the bottom of the fabric. Crease the fabric again a little more than 1/2" above that mark and fold the crease down to that mark. You'll make two more pleats above the first one, each a little more than 1/2" from the top of one pleat to the fold of the next. For your last pleat, take care to make sure that the fabric above the fold visually matches the width of the fabric below the bottom pleat, even if it means that the top pleat is a little uneven.
Baste the pleats in place.
4. Attach the ties. Fold each piece of bias tape in half and iron the fold to crease it, marking the center.
Center the bias tape on the middle pleat of the mask, then pin it well, encasing the raw edges of the side seams in the bias tape:
Sew down the entire length of the bias tape, sewing it shut and sewing it to the fabric mask.
Here's what the masks looks like when worn by my kiddos' American Girl dolls:
They're not too hard to tie onto the dolls, and I think the proportions look just right!
Want to make a human-sized face mask to match the doll masks? Here's how to make a fabric face mask for an adult, and here's how to make a fabric face mask in two children's sizes.
Or I can make them for you! Here's my listing for fabric face masks in the colors that YOU choose, in adult size or two children's sizes. And here's my listing for doll face masks in the colors that you choose!
Whether you're a human or an American Girl doll, please stay safe!
P.S. Want to follow along with my craft projects, books I'm reading, dog-walking mishaps, encounters with Chainsaw Helicopters, and other various adventures on the daily? Find me on my Craft Knife Facebook page!


No comments:
Post a Comment