My teeny-tiny bonus print was not going to go live in a drawer, so instead I made it into a super awesome magnet, which is something that is super easy to do with any paper.
Super, right?
Here's how to make your own DIY magnet from any paper:
Step #1: Don't trim the image that you want completely to size, instead leaving some border around it that you can trim later. Turn it over, and cover the back well with double-sided tape (for the quick and dirty solution) or archival-quality glue, if you want your magnet to last forever:

Step #2: Stick your paper to the back side of a piece of mat board, then trim to size with a ruler and craft knife:

Step #3: Use clear packing tape (for the quick-and-dirty solution) or archival-quality sealant (if you want your magnet to last forever) to protect the front of the magnet from stains:

Step #4: Use an epoxy glue (I prefer E6000) to attach a magnet to the back of the mat board. Let it cure, then use your magnet!
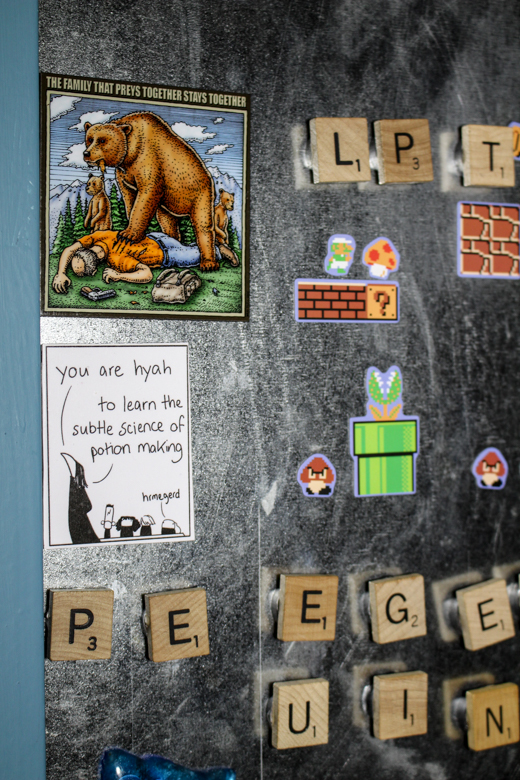
I know, I know--ALL my magnets are pretty baller. I've got a souvenir from our Alaska cruise up there, as well as some Super Mario Bros. magnets, as well as some DIY Scrabble tile magnets!
I might need an even bigger metal board...
No comments:
Post a Comment