I strongly believe that journaling is one of the best things that you can do while traveling. Life happens especially quickly when you're on a trip, and you're likely to forget what you don't write down. And if it's a special trip--like once-in-a-lifetime special--there are details that you'll want to remember for the rest of your life.
The frustrating thing about store-bought blank books for this type of purpose is that they're just too large. You likely don't want unnecessary bulk when you travel, and anyway, I think it's nicer to have a journal just the right size to record one single journey.
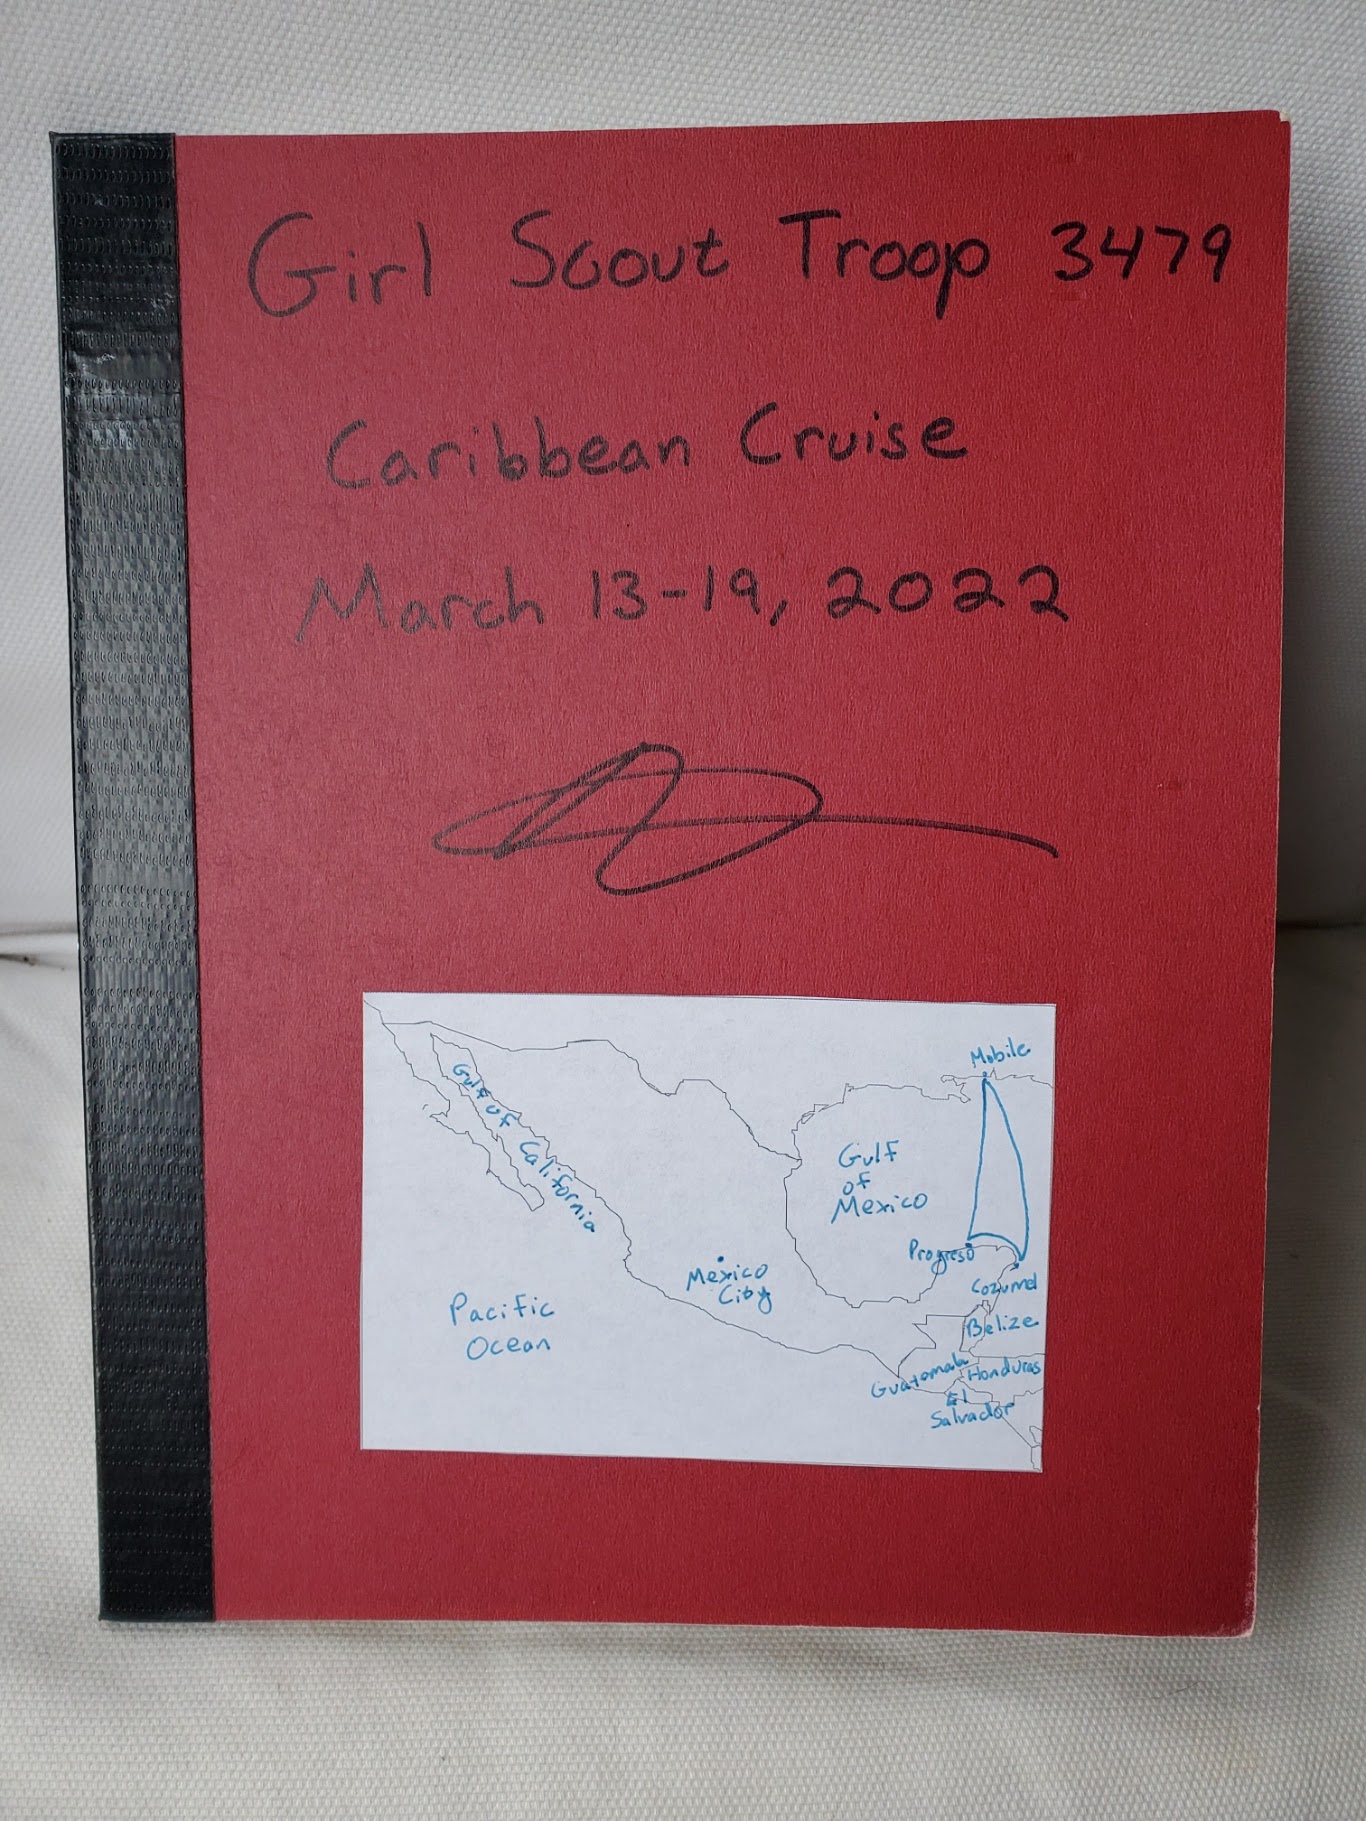
This DIY travel journal that I used to make with my kiddos when they were little, and which I most recently made with my Girl Scout troop before our Caribbean cruise, is just the right size for a 1-2-week trip. It's light as air, has some wiggle room as to number of pages it contains, supports a variety of paper types for whatever media you prefer, and can be modified to include all kinds of other fun and creative journal elements.
And it's easy as pie to make!
Here are the supplies you'll need:
- 6-8 8.5"x11" pages. Regular printer paper is perfect, but you can include tracing paper, watercolor paper (although that's thick enough that you might have to put in fewer pages), kraft paper (for bonus points, cut this out from brown paper bags!), cardstock, etc.
- 2 pieces of cardboard or similar, at least 5.5"x8.5". The ideal size for this would be about 6"x9". My Girl Scout troop used some of my stash mat board, sized 7.5"x9.5", and it was maybe a little big but worked fine. You could also use cardboard cut from shipping boxes or food packaging, or even rip the covers off of those old books that hang around in your crafting stash.
- duct tape, at least 17" long. I used more stash duct tape for this, basically everything still left after Syd's duct tape dress form, and the kids had fun choosing their colors.
- stapler.
- large eraser.
- metal ruler.
1. Tape the cover. Set a piece of duct tape at least 9" long sticky side up on your work surface. With pretty sides down, put your two pieces of cardboard on the tape, leaving a gap of a scant 1/4" between the two. Fold the extra tape at the top and bottom over, then overlap with another strip of duct tape:
.jpg)
.jpg)
2. Staple the pages to the covers. Stack 6-8 pages together, then fold them in half and crease them. Center the fold on the gap you created between the two book covers:
.jpg)
Hold everything carefully and flip it upside down, so that the pages are facing down and the duct tape spine and covers are facing up.
Put the eraser directly underneath the first spot you'll staple.
Turn the book over and pull the eraser off the prongs of the staple. Use the edge of a metal ruler to bend the prongs down:
.jpg)
.jpg)
Your travel journal is ready to go!
-2.jpg)
Here are some creative components that you can easily add to this type of travel journal:
- fill-in-the-blanks template. This makes a good prompt for littler kids--to reduce bulk, you can hand-draw a template directly onto the pages of a travel journal rather than printing and pasting one. Older writers might still find a list of prompts helpful.
- embroidery. You can use this for pure embellishment, or to add travel routes to a hand-drawn map.
- paperclip bookmark. This is an easy way to hold your page between entries.
- envelopes. You could literally just tape an envelope to the inside cover of your travel journal, but I really like these stitched covers made from book pages. I often score old travel guides from my local public library's used book sale, and envelopes made from these are extra awesome for travel journals.
- travel journal holder. I made these out of felt for every kid in my Girl Scout troop, and they came in super handy! The kids could put their travel journals in them, but also their favorite pens/pencils, stickers, ephemera, etc.
.jpg)


I am under no delusion that I'm not the only person who completely filled out their travel journal, dutifully recording every single day spent with my girls and my Girl Scouts. But I hope the memory of this practice, how easy and fun it was, how important I tried to make it feel, the room for creativity and personality I tried to leave, will inspire the kids to give it a try again on a future trip.
1 comment:
great
Post a Comment