The kids and I are doing a short art history study on the history of photography, so it's a fine time to bring back our absolute favorite homeschool staple: the DIY timeline!!!
We still speak often about our big basement timeline, and I wish so much that we'd continued it in this house. But its magic lives on, I suppose, in the kids' happy memories, and in their eagerness, even at the ripe old ages of 15 and 17, to DIY this photography timeline with me.
I used A Chronology of Photography as my main resource for deciding upon the photos to include. I added in additional photos of LGBTQIA+ history and the history of People of Color, but looking at our finished timeline I can clearly see that I need WAY more non-Eurocentric photos, too, yikes. I also added in photos of important events, like the first Moon landing, World War 2 events, etc., because I want the kids to remember that photography, along with its artistic value, is an important way to explore and analyze history. Photographs are also cultural artifacts that speak to the time, place, and culture of their creation, so it's helpful to also source photos where those aspects are easy to identify.
To get a high-quality image of a photograph, do a Google Image search, click Tools to reveal a set of filters, then filter the Size for Large:
 |
| Anyone else obsessed with the Cottingley Fairies? The kids and I talk about these world's greatest pranksters ALL THE TIME. |
Even though the photographs that I'm printing for this project are only about a quarter-page at the widest, if I'm going to the trouble to find and download an image, I like to get the largest size possible.
Because what if next year I need a wall-sized version of the Cottingley Fairies photos, hmm? What then?!?
I rename artwork images Title Artist Year, and put them in folders that I'll hopefully be able to make sense of later, ahem.
Once I had a good selection of photos representing the history of photography, I sent the images to Matt, he put them four to a page for me, and I printed them onto cardstock and cut them out:
On the back of each photo card, I wrote the work's title, artist, and year, and that was our stack of photos all ready to go!
To play a game with these, deal out a few photos to everybody, and leave another stack of photos as a draw pile. Take the top photo from the draw pile, read out its title, artist, and date, then place it down to start your timeline.
The goal of the game is to place your photos in their correct spots on the timeline. You put your photo where you think it goes, then turn it over and read out the title, artist, and date. If your photo is in the correct spot, your turn is over. If your photo is incorrect, correct it and then draw another photo. The first person to correctly place all of their photos is the winner!
The game gets harder as it goes on and you fill in all those big gaps in time!
Look at that lovely, long timeline, chock-full of fascinating moments of history and interesting artistic interpretations:
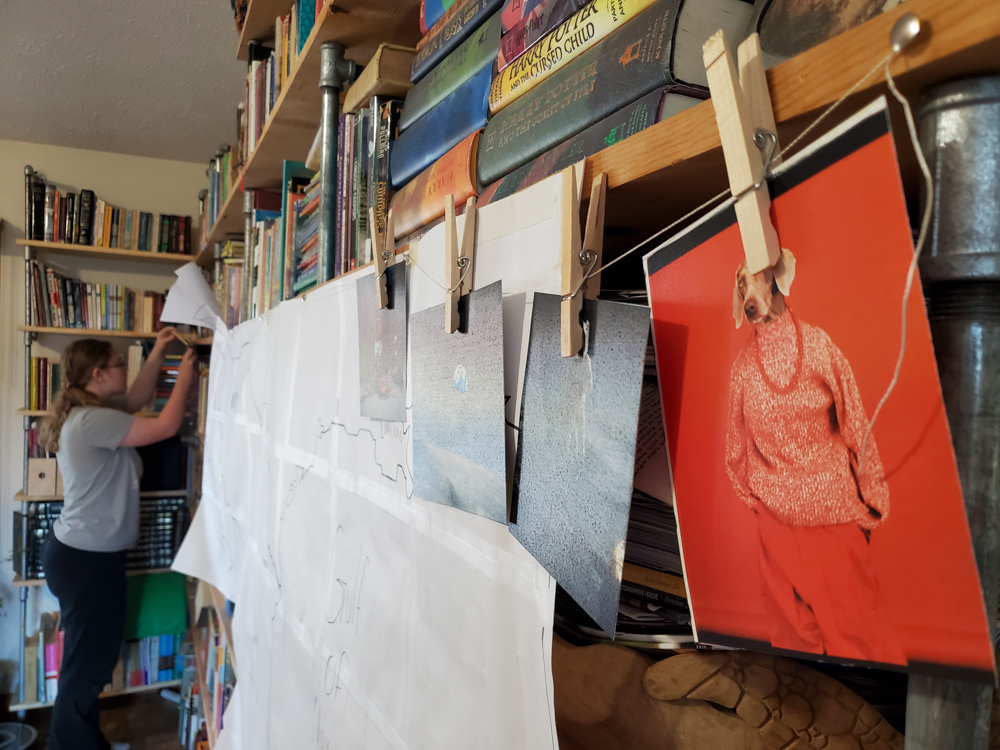
I wanted to leave our timeline on display--maybe the kids will memorize some dates, and maybe it'll allow us the space to have more conversations about some of these images--so Syd and I tacked twine to the front of our big bookshelves, then the kids transferred the completed timeline to it:
 |
| We're slightly overlapping the map for our Meso-America study--oops! |


No comments:
Post a Comment