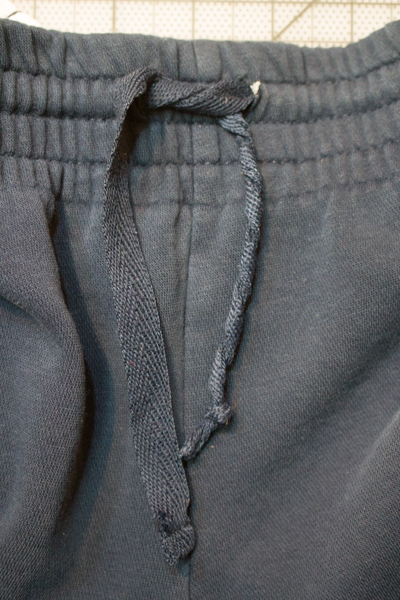
This tutorial was originally published on Crafting a Green World back in 2016.
Fortunately, this repair is dead simple, a fix that you can do even if you have no idea how to sew and no sewing tools at hand.
You will need:
a safety pin. If you don't have a safety pin, you can use a paperclip instead.
the drawstring. If your drawstring is broken (or you just hate it and you're sick of seeing it every time you put on your pants), you can replace it with grosgrain or any other sturdy, grippy ribbon. Heck, you can even use twine if you're in a pinch!
(optional) a seam ripper. Sometimes the drawstring is sewn down at some point inside the casing, which sucks. If that's the case for you, you'll need a seam ripper or a pair of scissors with a small, sharp point or a needle or thin nail.
1. Pull the drawstring completely out of the casing. If it won't come out, then that's because it was tacked down at some point. I used to do this when I sewed drawstring pants, to keep it from pulling all the way out, but the first time I got one lost inside the casing, I realized how much more sucky it is to have to unpick the stitches AND pull out the drawstring than it is to just pull out the drawstring.
If your drawstring won't come out, look for the place where it stops, and look for a few stitches that are tacking it down at that point. Unpick those stitches, and you should now be able to completely remove it from its casing.
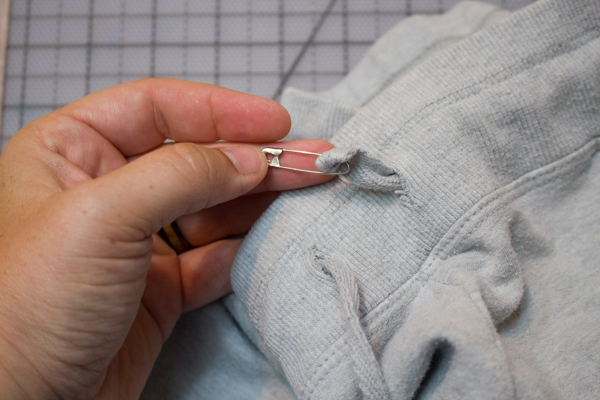
2. Attach a safety pin to one end of the string. If you don't have a safety pin, you can tie the end around a paperclip.
3. Feed the string through the casing. Sometimes the safety pin will feel stuck when it comes to a seam, due to however the seam was ironed or finished. But if it got through once, it will again, so keep trying!
4. Pull the drawstring out and retie it. And tell whoever pulled it out in the first place to be more careful next time, because that's five minutes of your life that you aren't going to get back!


No comments:
Post a Comment