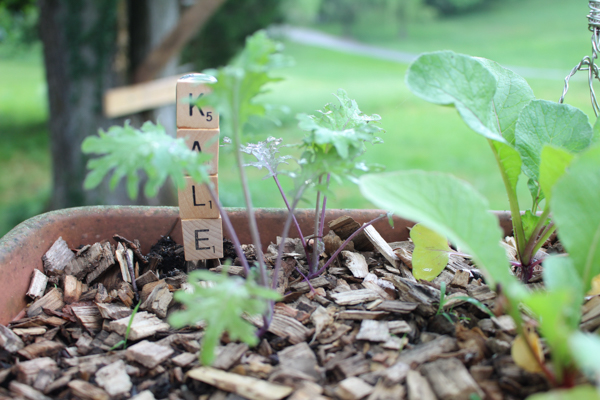
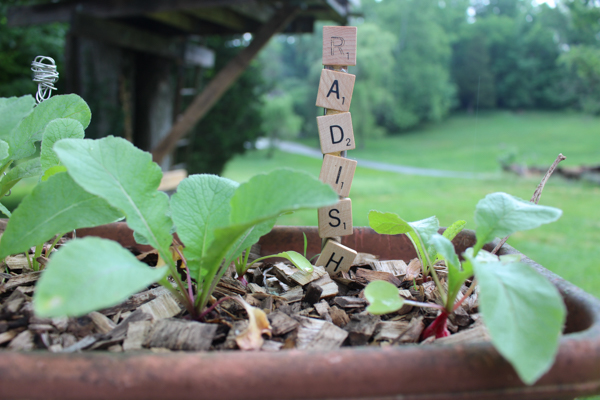
...such as this one! I originally published this Scrabble tile and butter knife plant marker tute here on Crafting a Green World.

You just can't have enough plant markers. Honestly, I have to mark every single plant if I really want to be safe, and still one year I ended up lovingly nurturing some kind of ragweed that sneaked into the garden plot instead of the ground cherry that I thought I'd planted somewhere near there. The best plant markers are easy to make, easy to place, and impossible to move unintentionally! My favorite plant markers are the ones that I can assemble entirely from one Saturday trip to the thrift store. I take old butter knives, a broken-down Scrabble game, and some epoxy glue, and I make the cutest, handiest, butter knife and Scrabble tile plant markers that you've ever seen. Here's how you can make some, too! You will need:
- Thrifted butter knives. These tend to be super cheap at any thrift store, because most people don't want mismatched cutlery.
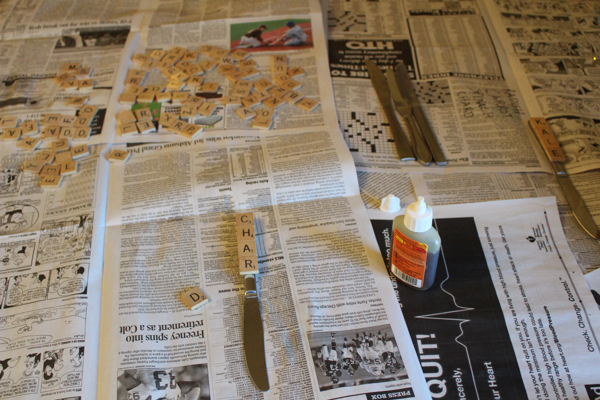
- Thrifted or stash Scrabble tiles. You can get Scrabble games for a buck at nearly every weekend garage sale. I always buy old Scrabble games when the price is right, because those letter tiles are endlessly useful!
- Epoxy glue. I used Gorilla Glue in most of these pics, but later I made another set of plant markers using E6000 and I like those results so much better, actually.
2. Arrange the Scrabble tiles to make labels. If you've only got one old Scrabble game to work with, this can get tricky. This project works best for labels with six or fewer words, and not too many Q's or J's. There are also only two C's and 2 H's in a Scrabble game, so if you make CHARD and BOK CHOY you can't also have CARROTS. There's only one K, so you can have either PUMPKINS or KALE. It's your choice! Other options are simply to work from more than one Scrabble game, or to pad out the letters with other types of moveable alphabets. You can buy old refrigerator alphabets as cheaply as you can Scrabble games, for instance, and with a pair of tin snips, cutting letters out of expired license plates is dead simple.

3. Glue the letters to the handle of the butter knife. I prefer to put the epoxy glue on the knife handle, and then arrange the letters. I like the letters nice and even, but my kid likes them skewed and off-center--to each her own! When the label is glued on, leave it to cure for the length specified by the glue--usually about 24 hours.

These plant markers are so efficient to install since the blade of the butter knife will slide into your soil as easily as it slides into butter, and yet kids and rabbits can't accidentally displace them. If you want to customize these plant markers even more, you can experiment with spray painting (and sealing the paint) first, or, if you'd like to use them indoors, why not decoupage them more elaborately?
P.S. Like tutorials and WIPs and lots of fun crafting ideas? Check out my Craft Knife Facebook page!
No comments:
Post a Comment