But it was by far the easiest-looking method, AND we already had all of the supplies that we needed to do it (because don't YOU have spare cans of shaving cream in your homeschool closet, because you saw them on clearance one time and figured you could use them for something or other? You can!!!), so I decided to roll the dice and give it a try.
I used this tutorial for marbling paper with shaving cream from The Artful Parent, because I follow her blog and I've used a few of her tutes before--she's what you might call a Trusted Source!
We used these supplies:
- school cafeteria trays, one for each kid (I bought them from our local university's Surplus Store, which is where half the stuff in our house comes from)
- cheapest shaving cream you can find (The Artful Parent's tute calls specifically for shaving FOAM, but we used cans labeled "Shaving Cream" with no problems)
- liquid watercolors--half my stash is Colorations, and the other half is the Dick Blick store brand. I wish there was a local place to restock, because I really need more orange, but I don't want to pay for shipping at either site!
- paper. We used this cardstock from Paper Source (I received free samples for review purposes), because I was hoping the kids would produce some designs that they could use as covers or endpapers for the books that they'll be making for the Girl Scout Cadette Book Artist badge, so I wanted them to use high-quality paper.
For the step-by-step process, click over to that tutorial from The Artful Parent, but here are some photos of how it went for us. Please excuse the dim lighting--this was on the kids' work plans for the day, but we didn't get to it until very late afternoon:
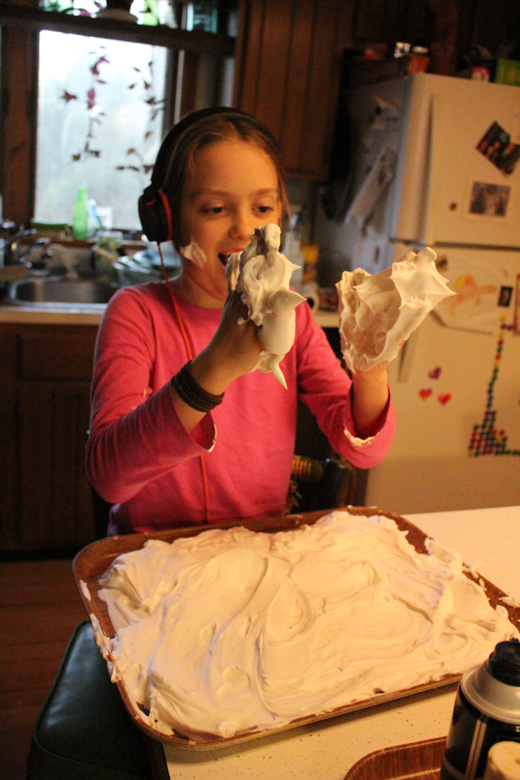
The kids are meant to be spreading the shaving cream into one even layer, but in the process they rediscovered something that they seem to have forgotten since their preschool years--SHAVING CREAM IS FUUUUUUUUUNNNNNNNN!!!!!!!
I am highly in favor of sensory activities even for big kids, primarily because it's so clear how those big kids, themselves, take to the opportunities to immerse themselves in sensory experience:
Even the kid whom you'd least suspect of such a thing... did this:
That's one way to make sure one washes one's face, I guess!
Even though it does require some assistance from one's sister...

Eventually, these two goofballs DID get down to business:

Here's some not really better light to show you how pretty their paper turned out:
I could have gotten a better shot of that where the color scheme wasn't so off--in particular, I don't know why the blue didn't come out at all--but I'm having a really busy week, so please use your imaginations. We don't own grey liquid watercolors, so imagine all of that as blue, and the red is really red, not magenta. The green looks weird, too, but the purple looks about right.
It was challenging to keep the paper flat while also allowing it to dry, so I'll likely show the kids how to go over it quickly with a warm iron before they use it in their paper products.
I also have plans to use more of this Paper Source paper to make marbled business cards, so stay tuned!
If you're in the mood, here are some other really amazing-looking marbled paper projects that I've got pinned:
- marbled paper with alum. You can buy alum at the grocery store, so this would also be an easy method to try.
- marbled paper with milk. This is an extension of an art/science activity that uses the milk, so useful in getting some more use out of your supplies, but I wouldn't try to keep the paper afterwards---unless you like things that smell like sour milk?
- marbled paper with oil paints and methyl cellulose. This is the most professional method, which is why it requires supplies that I didn't want to buy. I'd be curious to see first-hand how the results differ from these other methods that use grocery store supplies.
- marble paper with spray paint. I always keep a full rainbow of spray paint, as well as black and white and a clear coat, on hand as one of our permanent art supplies, so this is one project that we actually might do someday soon.
- marbled rocks with nail polish. I'm wary of using up Syd's beloved nail polish, but if you want to marble something more permanent, like the rocks made in this tute, nail polish is a paint that would stick.
Although this shaving cream marbling worked out so well, right now I can't ever see myself trying another way!
Unless it's messing around with spray paint, of course. There's always more space in my day for messing around with spray paint.
P.S. Check out this comic that Syd made of Peter the Great trying to cut his nobles' hair against their will. There's never a dull moment in AP European History!


No comments:
Post a Comment