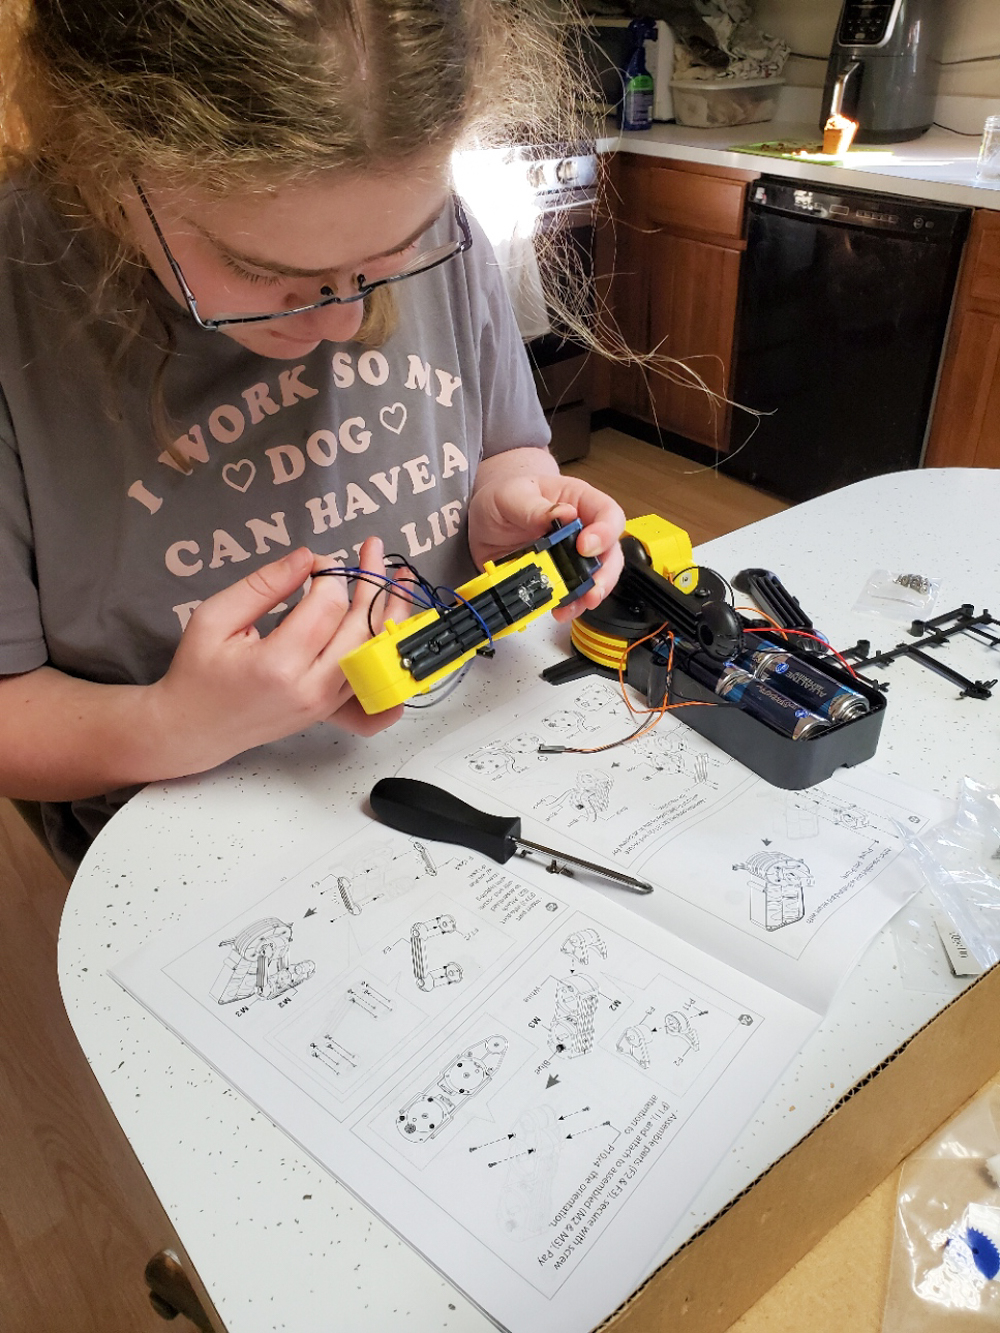
Step 2 of the Girl Scout Senior Programming Robots badge asks the kid to build a robot arm. Step 2 of the Ambassador Programming Robots badge asks the kid to build a motorized robot.
Let's streamline the process of mentoring a Girl Scout Senior and Girl Scout Ambassador through earning this badge together by asking them each to build a motorized robotic arm!
Each kid built her own OWI Robotic Arm Edge kit, obtained via a grant from the Civil Air Patrol.
You guys, these kits were TOUGH!!! I would consider both my kids adept at reading and following step-by-step directions, possibly even a little more adept than your average teenagers, just because we do a lot of step-by-step tutorials and crafts and hands-on activities in our homeschool. But they both struggled quite a bit with these robotic arm kits, and each made several mistakes that they had to go back and troubleshoot.
.jpg)
.jpg)
.jpg) |
| You can see in this photo how a little hot glue was also required. The older kid was so rough on her poor robotic arm! |
These robotic arms have already come in handy for more than just earning Step 2 of the Programming Robots badge. The older kid is at work on the Ambassador Designing Robots badge, and used her robotic arm, along with some of the hydraulics that were last used building a cardboard robotic arm the last time the kids earned the Programming Robots badge at the Cadette and Senior levels to make a working model of a robot that could dispense a drink into a cup.
The kids will soon have yet another use for their robotic arms, as well, as for Step 5 of this badge, they'll each be using the USB Interface Kit to write a program for their robotic arm. So it's a good thing that they got their robotic arms working... even if it did require a bit more hot glue and duct tape than I'd been expecting!
P.S. Want to know more about all the weird math I have my kids do, as well as our other wanderings and wonderings? Check out my Facebook page!
.jpg)
.jpg)
.jpg)
.jpg)
.jpg)
.jpg)
No comments:
Post a Comment