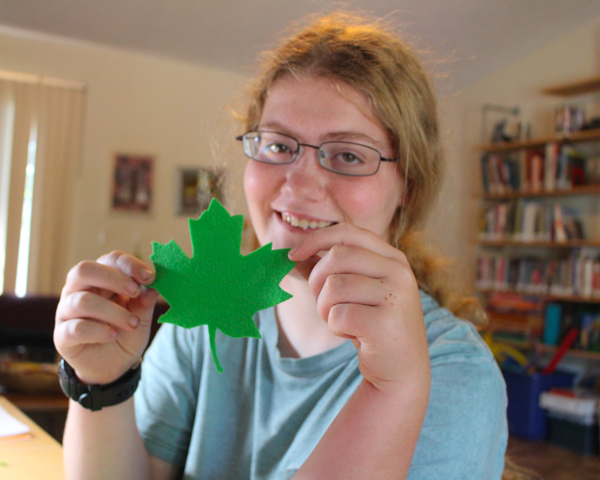
I originally published this tutorial on Crafting a Green World.
If you're in the mood to decorate your home for autumn, there's no better inspiration than the real leaves right outside!
You can bring them inside and they'll last for a while, preserve them and they'll last for longer, or you can use them as templates to make these easy and beautiful felt leaf silhouettes that will last as long as you like.
Supplies
Leaves
My kids and I have used both completely fresh leaves and pressed leaves. It's more difficult to trace an accurate outline of a leaf when it's fresh, but it does turn the project into one that can be done in less than an hour, instead of one that requires cooling your heels for a few weeks while your leaves are in the leaf press.
Cardstock, Pencil, Scissors, Chalk.
You could trace your leaf directly onto the felt, but I like to trace my leaf onto card stock, cut it out, and then use that template on the felt. It's an extra step, sure, but it's much easier to make more leaves using a single card stock template than it is a slippery leaf.
Felt
You can go two ways with your felt choice, and both are eco-friendly. Wool felt is a natural material, and Eco-fi, the most readily available type of felt found in big-box craft stores, is a recycled material, made from post-consumer plastic bottles. I own and use both types, although I do prefer the weight of my wool felt for this particular project.
Embroidery floss and needle (optional)
Sometimes, I enjoy embroidering the veins on my leaves.
Instructions
1. Go out and collect some leaves! Although this makes an especially fun autumn project, you'll likely want green leaves still on their trees. Give them a look over to make sure that they're whole, but don't freak out over small irregularities. One of the things that makes this particular leaf project so nice is that since you're copying actual leaves, each leaf will be different. None of that militant uniformity that you get from artificial greenery!
2. Press the leaves, if you're going that route. Even if you don't put them in a leaf press, you might decide, midway through trying to trace your first curvy, fiddly leaf, that you want to press your leaves for just a couple of hours, at least. Leaves are NOT perfectly flat like paper.
3. Trace the leaf onto card stock and cut out. Felt can hold a lot of detail, so really dig in and try to include as many of the interesting edge details that you can. Cut out the cardstock template, and if you're into it, now is a great time to stop, ID your leaf, and write its ID on the card stock. That way you'll know if you're making a felt red maple or silver maple leaf!
4. Trace the card stock leaf onto felt using chalk. I like using chalk because it shows up well on felt, can be brushed off or washed off with a little water, and is generally a LOT easier to find than the water-soluble marking pencil that I own but loathe because chalk works so much better.
5. Cut out the leaf silhouette from felt. You'll want fabric scissors for this, and even tiny thread scissors, if you've got them. The smaller and sharper the scissors, the easier it will be to capture all the details.
You can simply enjoy your felt leaf silhouettes as-is, or fancy them up with embroidery or fabric paint. You can string them into a garland, or tack them together to make a bunting. Add a loop and use them as name tags on gifts or as Christmas tree ornaments.
What will YOU do with your felt leaves?


No comments:
Post a Comment