Unless your attention span is really, really, really short, that won't happen when you use my full-proof method of drying flowers in the microwave. Pop a flower in and two minutes later you'll be crafting away!
This method works with both flowers and leaves--it's particularly great for making leaf collections and saving wildflowers, especially with kids (although preserving leaves with beeswax is also really fun!).
Supplies & Tools
You likely have everything that you need to dry flowers already in your house. Here's what it takes:
Microwave
I know that a lot of y'all don't use microwaves for your food, and that's cool, but you're not going to eat these flowers. If you don't own a microwave, ask a friend if you can come over and dry flowers in theirs for a few minutes.
Unglazed Terracotta Dish Or Tile
You can find one of these at your local hardware or garden store, or in a store like Restore that resells such supplies. I'm using a large terracotta plant saucer that in its free time sits underneath my fern.
Paper Towel Or Paper Napkin
I know, this supply is also pretty gross and environmentally unfriendly, but it's also necessary. The good news is that you can use the same quadruple-folded paper towel or paper napkin for all your flowers, only changing it if it gets stained.
Glass Bowl Or Plate With A Flat Bottom
This is actually the trickiest supply to source, because the glass bottom needs to be flat so that it presses against the flowers. Most plates and even bowls have a bottom lip that makes that impossible.
I make do with a couple of glass food storage containers, but what I wouldn't give for a flat piece of glass that better matched my plant saucer! You could also upcycle picture frame glass or glazed tiles for this--just make sure that there's no metal at all in what you use, since you'll be nuking it in the microwave!
Directions
1. Set up the plant saucer and paper towel.
Make sure the plant saucer is clean and dry, then cover the bottom with four layers of paper toweling.
The paper towel layers keep the flowers from sticking to the unglazed terracotta, and they also pad the flower a bit as it dries, so that it doesn't crumble to bits between the heavy top and bottom layers that it's sandwiched between.
2. Arrange the flowers and leaves in a single layer on the paper towel.
I actually think that it's really hard to arrange flowers in a way that will look attractive when they're dried and pressed flat, so don't be afraid of trial and error here.
3. Cover all of the vegetation with a piece of flat glass.
Don't mash it down or try to manually flatten the flower; just set the glass on top of it.
4. Microwave it!
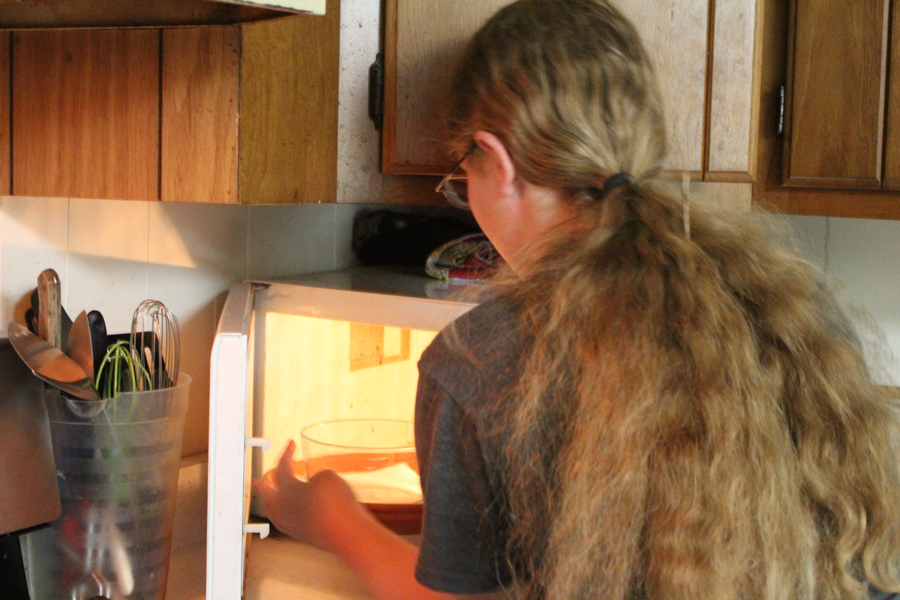
Set the saucer down in the microwave, and microwave at full power for 20-30 seconds. A delicate, thin flower will be completely dry in 20 seconds, but a juicier flower will take a bit longer.
If you've got something thicker, like a Bachelor's Button or Black-Eyed Susan, microwave it for 30 seconds and then check on it, then microwave it again in increments of 20 seconds, checking each time to see if it's dry. When the flower feels stiff and no longer damp, it's ready! If the petals start to brown then you've microwaved it for too long--try again with another flower, but dial it back by several seconds.
You guys, this method of drying flowers is so easy and fun! My kids and I can go from taking a walk in the woods to making bookmarks out of the flowers that we picked on that walk on the same day. Our leaf collections are EPIC. I actually went looking for more crafts to do with dried flowers the other day, I had such a lovely surplus.
If that surplus lasts long enough, I'll come back in a couple of months and talk to you about making dried flowers into Christmas ornaments!
P.S. Yes, you can use this same method to dry herbs, as well, but if you're feeling wary of microwaves, remember that you DO want to eat your herbs.


No comments:
Post a Comment