I never did find a pattern for the perfect zip-top tote bag.
So I made one up from scratch!
Fortunately, a tote bag pattern is dead simple to construct. Here's what both sides will look like--minus the Girl Scout marketing (and the cat hair, sigh...)!
 |
| We're currently in the middle of our third day of straight rain, with another full day of rain forecast tomorrow. Sucks, because I do not have the skills to make gloomy indoor spaces look lovely! |
Notice the square that you'll be cutting out of the bottom left and right pieces. This is a nice place to self-correct, because if it's not square, you need to go back a couple of steps and re-measure!
Because you're going to fully line this tote bag, you can use any non-stretch fabric that you like. I am pretty excited about making a fleet of appliqued felt-on-felt tote bags to replace the paper bags that we usually get at the grocery store (yikes, I know), because probably an entire decade ago Matt and I had a failure of communication during a Black Friday sale at Joann's that resulted in our ownership of an absolutely ungodly yardage of Eco-fi felt in every single existing color.
That absurd amount of felt has been a weight on my mind ever since, and I'm always on the lookout for felt projects. I think these tote bags are finally going to bring my felt stash down to the amount that a sane person could possibly be expected to own!
So, yes, feel free to satin stitch embellishments to your tote bag, if for no other reason than it uses up even more felt!
Next, cut out two more identical pieces:
I wanted these tote bags to be reversible, with one plain option and one embellished option. Other than that, I don't really care about making the felt colors too mitchy-matchy--I mostly just want to use up all that felt!
For each front-and-back pair, put right sides together and sew up both sides and the bottom. Do NOT sew that square shut!
Instead, for each square match the two seams and make those your middle point--
--then sew the square shut, creating a box corner:
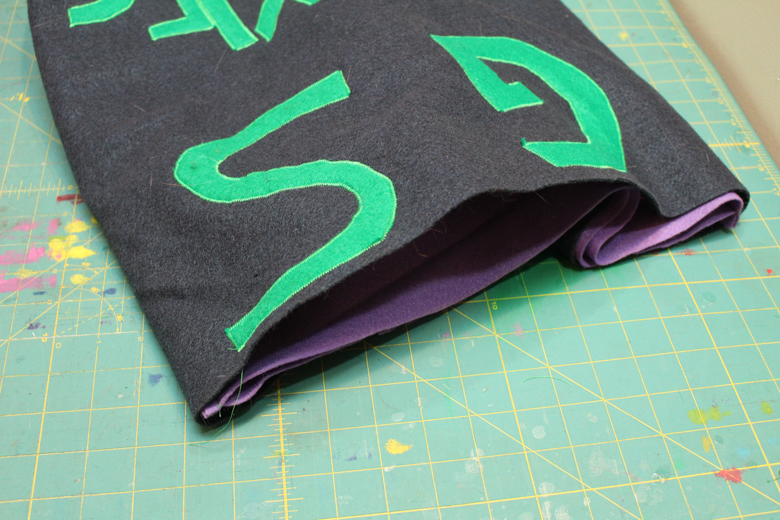
Put the two tote bag pairs together wrong sides together, one inside the other:
Cut a length of webbing for your strap, then insert it between the tote bag pairs and pin it well:
Edge stitch around the top of the tote bag. If you're using a fabric that will fray, you can fold the raw edges under and pin them first, but with felt or fleece you can just stitch away.
Stitch to reinforce the webbing straps by sewing down the length, then sewing an x:
Admire how many boxes of Girl Scout cookies your new tote bag can hold!
And when it's Girl Scout cookie season again--because it somehow seems to be always Girl Scout cookie season!--there's one more marketing tool all ready to use!


No comments:
Post a Comment